Showing posts with label Sharpe Practice. Show all posts

Sharpe Practice - Game Report 2

A further encounter in 1809

Kevin and I decided that we needed a break from ADLG and CoC so a mutual decision to enter the world of Sharpe Practice was agreed upon with alacrity. For a change we chose the Attack-Defend scenario with the French attacking the Austrians; the Austrians were fortunate to be in defence. As it had been sometime since our last game, we expected a lot of page turning to remind ourselves of the rules, and indeed this proved to be the case!

The Austrian's were commanded by Leutnant Sharf who had command detachments from the 19th Infantry Regiment (IR) (from 1st, 2nd and Grenadier Companies), 2 companies from the Vienna Freiwilliger, 2 Companies for the Broder Grenzer Regiment, a squadron of Dragoons and a 4lb field gun. Although Sharp Practice is a skirmish game, in my mind I relate the stands of infantry and cavalry as half infantry companies and squadrons respectively. Actually, with troop size and man spacing this is about right!

On to the game, this farm complex on the road provided a sound defensive position; with the woods to the rear right of the farmhouse. Lt Sharf anticipated that this would indeed prove a strong position and one we would be confident that the French would find it difficult to break. He deployed 1/19th IR forward of the farm to allow the gun to deploy. The Freiwilliger under Feldwebel Volkstein were deployed in column of companies in the wood.

The remainder of 19th IR were in column of companies behind the farm, unfortunately when they started moving forward to the left command rather broke down. To their left are the Dragoons. In the distance within the wood on the left and the field to the left of the barn are the Broder Grenzers.

In the distance we could make out the drums of a French column advancing. These were from last minute reinforcements for the French whose commander failed to get his sums correct; mixing up the unit costs with the number of figures in his units!

A group of very spirited French dismounted Dragoons came forward skirmishing. The audacity of their advance and firepower caused grave discomfort to the men of the 1/19th IR.

They were sufficiently perplexed as to withdraw prematurely though the artillery piece they were protecting. The sole benefit of this was that the 4lb gun would be able to fire a round of grapeshot at these irritating Dragoons.

However, no sooner than the Dragoons were shocked by the artillery, another French column was seen to hove into view advancing down the road.

The fire from the column soon caused problems for the gun crew who were not expecting fire from the column to be so effective. Behind them the 1/19th have fallen into absolute confusion and were seen to be countermarching trying to get into a better position to support the guns.

The fire has completely unsettled the gun crew who have abandoned their position to leave the 1/19th IR to hold the line. In support of this Feldwebel Volkstein has brought forward the Vienna Freiwillige into line to bring fire to bear onto the advancing French column.

While the French column continued to advance down the road, the other column and supporting skirmishers is advancing against the Broder Grenzers and is bringing down intensive fire on them.

An enemy line advanced into the woods and threw out a section of the Broder Grenzers, however 2/19th and Gren/19th have advanced and formed line and has started to deliver well practiced volleys at the French.

On the right a fire fight has now started between the Vienna Freiwillige and the French column, which has now deployed into line.

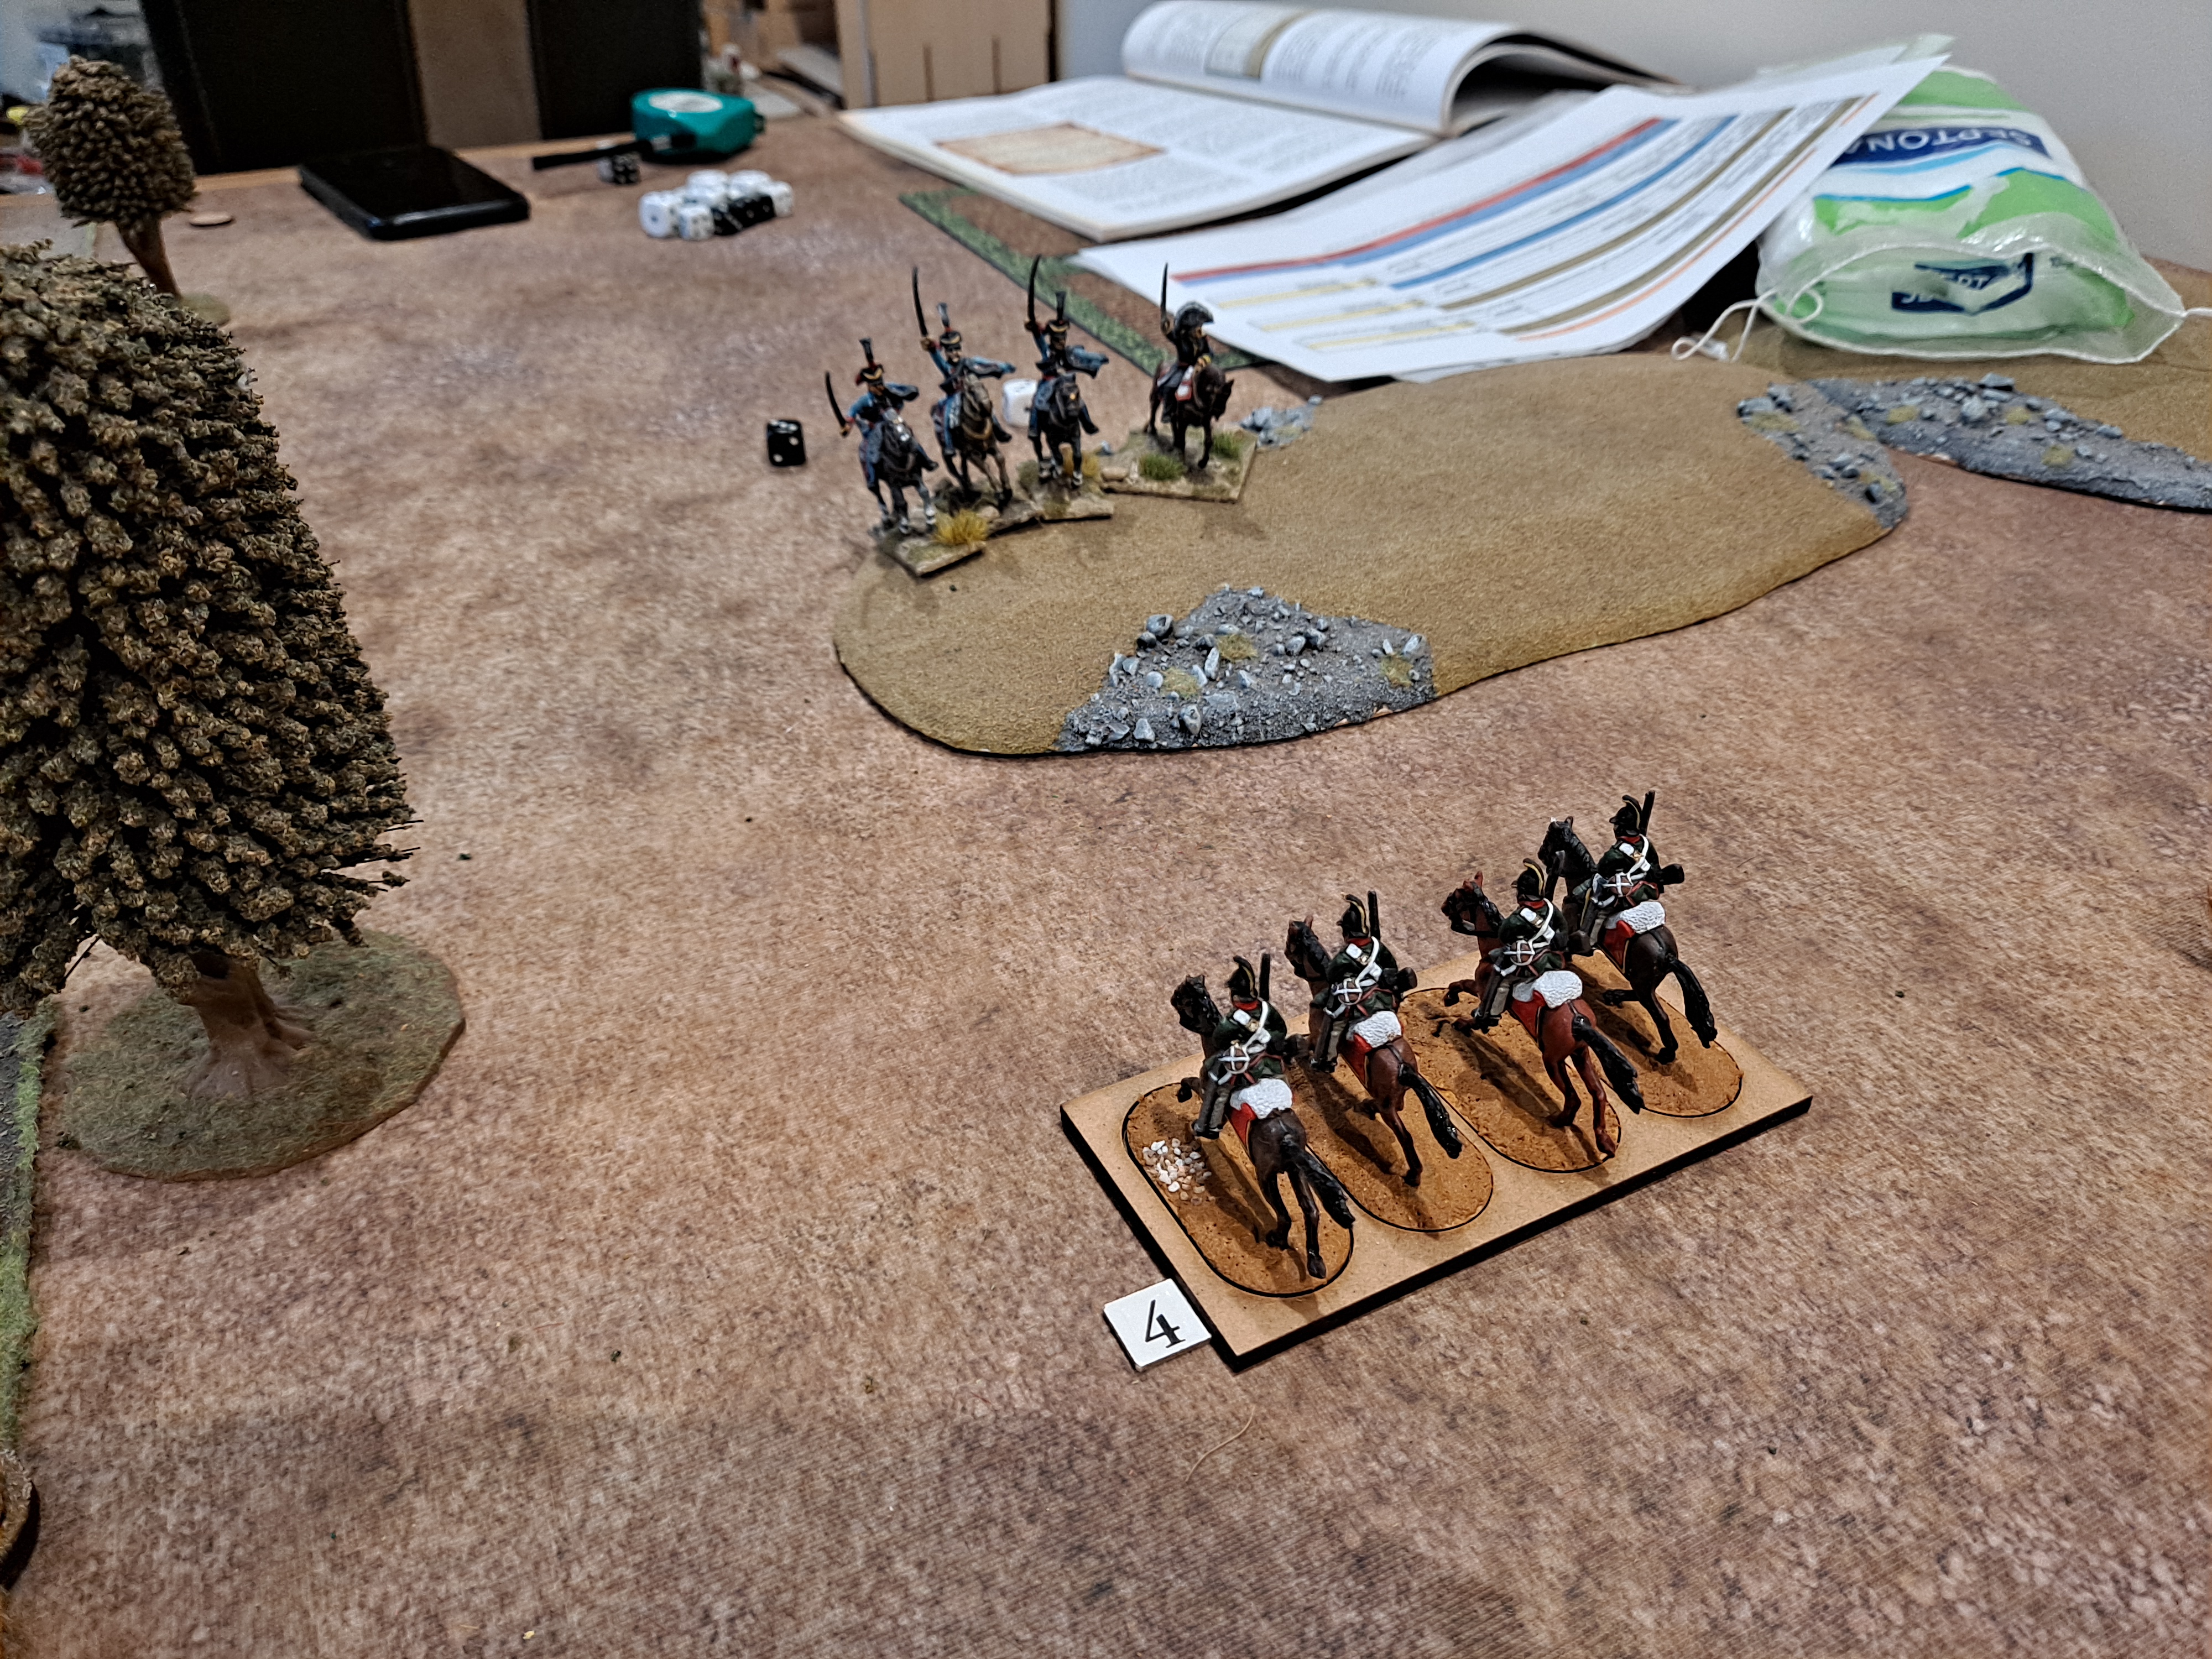
All the Grenzers have now been withdrawn, and casualties on the 19th IR are mounting as a result of the fire from a French 6lb cannon which eventually arrived late to the battle. The Dragoons have been brought forward ready to launch a counterattack.

Their charge is more than sufficient to cause the French to fall back, the charge was effective in stabilising the situation, but it left the Dragoons very exposed to the woods on their left.

From the woods the French infantry turned smartly to their left and charged driving the Dragoons back and preventing a rout of the remains of the French defeated by the Dragoons.

The French decided at this stage to withdraw and not press the issue, and to leave the objective in the hands of the Austrians until such time as they had reinforcements to finally defeat them. An excellent game, and despite the rules-page-turning we had a surprisingly good grasp of what we were doing, and I don’t think we made too many mistakes that would have changed the outcome of the game.


Imperial Austrian Army of 1809

Imperial Austrian Army of 1809

Introduction

I have a number of Austrian armies from 1756 through to 1815. There are two reasons for this:

  1. The first is very simple; White coats were easier to paint than multicolored coats when I first started my Seven Years War Armies.
  2. The second is because I am very interested in the Danube campaign of 1809. A campaign in which the Austrians started to perform well, and gave Napoleon the first taste of victory at the Battle of Aspern-Essling. Hence my large collection of 6mm Napoleonic Austrians!

Latterly I decided to invest in some 28mm Austrians for Sharp Practice, and I have now gone one step further and extended the inventory sufficient to make a 200 point 28mm Bataille Empire Army.

The Army has 3 Divisions and a Corps Reserve 12lb Battery.

The infantry are individually based on 1p sized bases so that they can be mounted on movement trays for Sharp Practice. For Bataille Empire the frontage of the Warbases 4 by 2 base is the equivalent of 2UD for 28mm Bataille Empire. Hence for a large Austrian Regiment one of these bases is fine, with two 2 by 1 movement trays that allow the unit to be in Line of Column - here they are in column.

One of the best things about Bataille Empire is the flexibility it offers in basing troops. Moreover although the rules suggest having 3 figures on a 5cm 1UD frontage, I think they perfectly fine with only two figures, and besides it is less to paint and bring to battle.

The Commanding Generals were printed at home using STL files from Piano Wargames. The figures have been painted in contrast paints.

The artillery are based on Warbases 2 by 3 bases with the guns stuck to two 1p bases for easy of transitioning for different gun size configurations. I have made some blank 1p bases to fill in when I reduce the figure count for the battery. The rather large Austrian gunner at the rear is from the North Star Silver Bayonet Napoleonic Vampire Figures

The Line Infantry!

The Grenzers.

The Cavalry - Light Dragoons.


Sharp Practice - Game Report 1

An Encounter 1809

Kevin introduced me to Sharp Practice some time ago, and since the first couple of trial games I had been building my own 28mm Austrian Force. Since we had been playing a lot of ADLG recently we both needed a diversion and decided that it was time for Sharp Practice and for my new Austrians to meet the French in battle.

We opted for a 60 point army list, using the encounter scenario. My force was commanded by Hauptman Scharfe commanding 3 sections of line infantry, with two sections of skirmishing Grenzers commanded by Stab Feldwebel Harter. In support we had a section of Light Dragoons.

Gefrieter Groschen was sent ahead with a section to scout out the land before the rest of the force arrived.

The infantry formed a column, more by happenstance than by design, and proved to be a beneficial target for the French skirmishers. The Grenzers are advancing either side of the hedge line with the goal of flanking the higher ground. Meanwhile the Light Dragoons are seeking more sensible terrain and to face off against the French Hussars.

For their part the French brought on their voltigeurs to shield their attack column. In the distance a French 6lb is deploying for action.

The Light Dragoons were severely mauled by the 6lb, and were then bumped by the Hussars. But not before the Grenzers managed to inflict some damage on them. The stoic and brave Light Dragoons fought of the Hussars in style, and forced them to withdraw.

The French attack column has now split into two smaller columns. The right of which has seized the high ground and forced the Grenzers to withdraw. The French fire is inflicting significant casualties on the line infantry. Stab Feldwebel Harter is trying bring the fire from his section the bear on the French column but to no effect.

The French are determined to win the fie fight and caused some confusion in the Austrians facing them. Hauptmann Scharfe is trying hard to reorganise his forces.

The French commander tried to execute a pas de charge, but the Austrians stood firm and drove them of with a tail between their collective legs. However, that was the high water of the Austrian response, rapidly diminishing force morale forced the Austrians off the table.

Outcome

A convincing victory for the French. But Hauptmann Scharfe learnt some very valuable lessons.

Lessons Learnt

  • Number one and most important this was great fun.
  • The Austrians would have been better advised to use their controlled volley fire.
  • The French Conscript Line may not have charged or moved beyond their position as they were not firing controlled volleys!.
  • Reforming the line from smaller units might well have breathed more life into the Austrian and indeed the French forces.
  • The Austrian Cavalry should have had their own commander.
  • Sharpe Practice - Game Report 2

    A further encounter in 1809 Kevin and I decided that we needed a break from ADLG and CoC so a mutual decision to enter the world of Sharpe ...