Sharp Practice - Game Report 1

An Encounter 1809

Kevin introduced me to Sharp Practice some time ago, and since the first couple of trial games I had been building my own 28mm Austrian Force. Since we had been playing a lot of ADLG recently we both needed a diversion and decided that it was time for Sharp Practice and for my new Austrians to meet the French in battle.

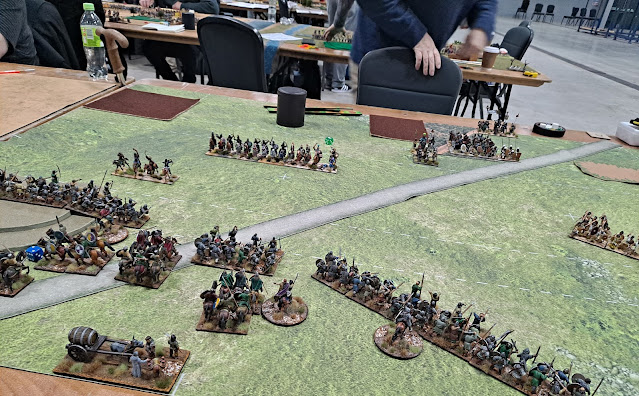
We opted for a 60 point army list, using the encounter scenario. My force was commanded by Hauptman Scharfe commanding 3 sections of line infantry, with two sections of skirmishing Grenzers commanded by Stab Feldwebel Harter. In support we had a section of Light Dragoons.

Gefrieter Groschen was sent ahead with a section to scout out the land before the rest of the force arrived.

The infantry formed a column, more by happenstance than by design, and proved to be a beneficial target for the French skirmishers. The Grenzers are advancing either side of the hedge line with the goal of flanking the higher ground. Meanwhile the Light Dragoons are seeking more sensible terrain and to face off against the French Hussars.

For their part the French brought on their voltigeurs to shield their attack column. In the distance a French 6lb is deploying for action.

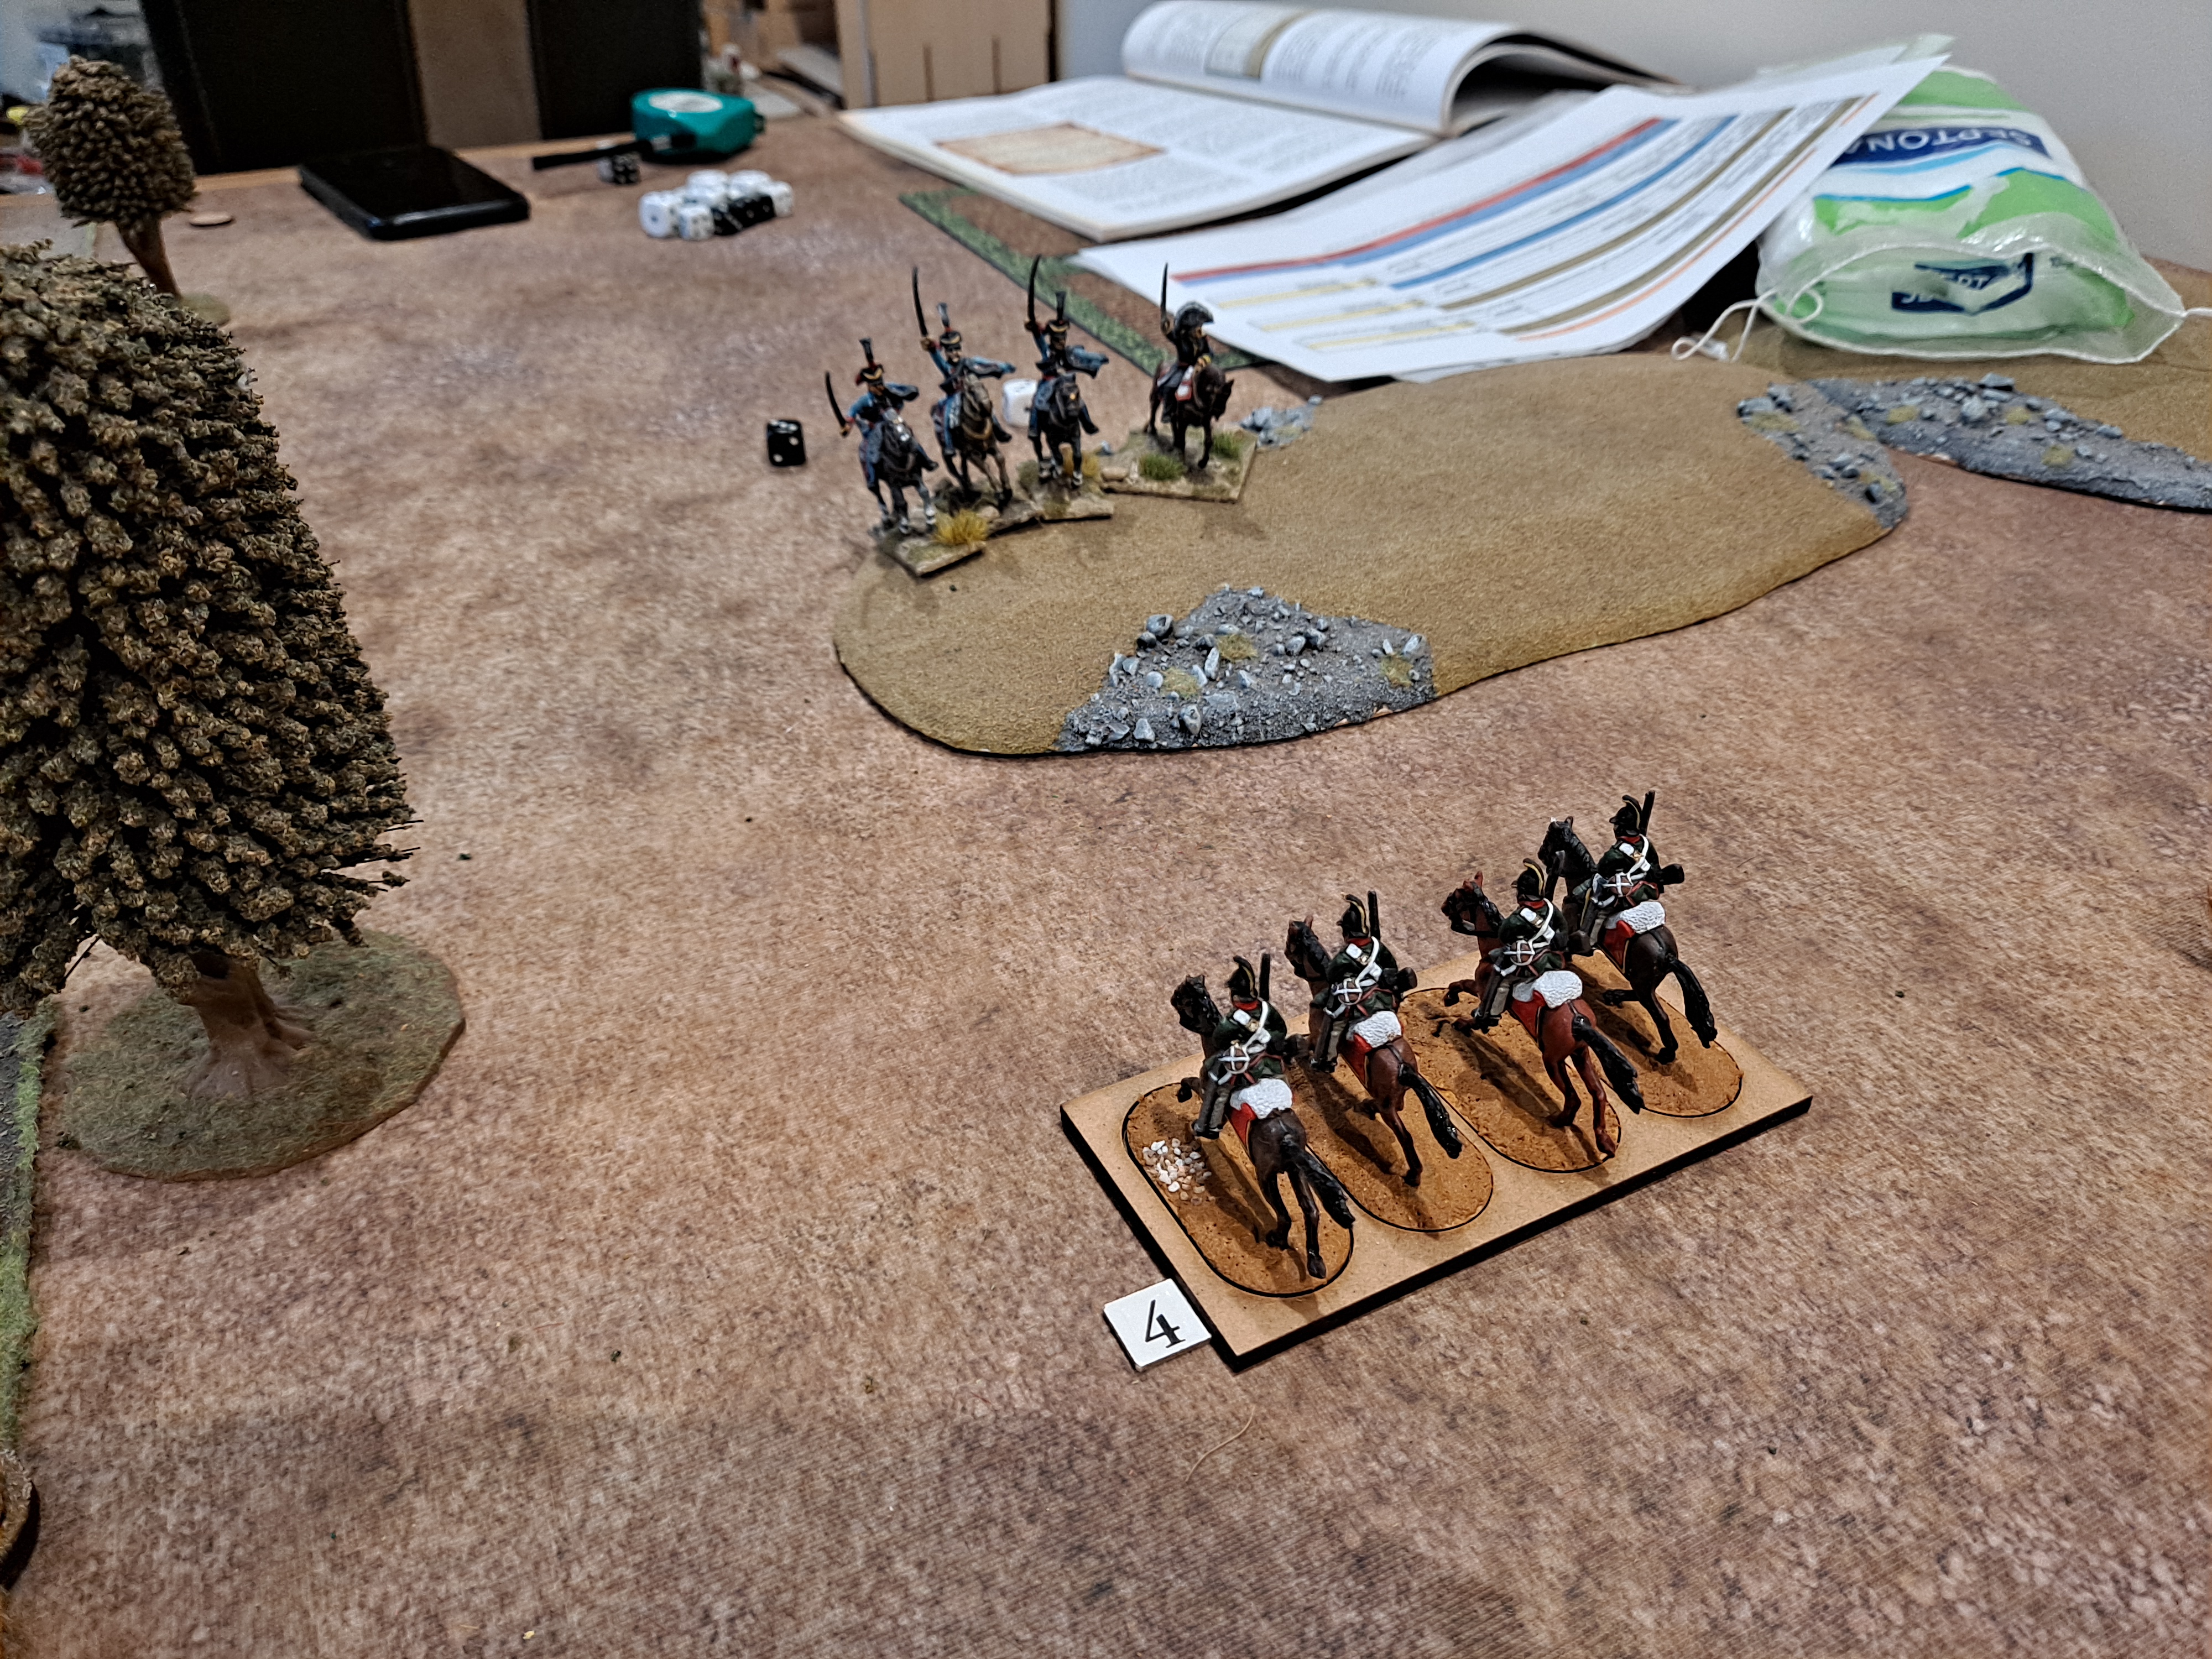
The Light Dragoons were severely mauled by the 6lb, and were then bumped by the Hussars. But not before the Grenzers managed to inflict some damage on them. The stoic and brave Light Dragoons fought of the Hussars in style, and forced them to withdraw.

The French attack column has now split into two smaller columns. The right of which has seized the high ground and forced the Grenzers to withdraw. The French fire is inflicting significant casualties on the line infantry. Stab Feldwebel Harter is trying bring the fire from his section the bear on the French column but to no effect.

The French are determined to win the fie fight and caused some confusion in the Austrians facing them. Hauptmann Scharfe is trying hard to reorganise his forces.

The French commander tried to execute a pas de charge, but the Austrians stood firm and drove them of with a tail between their collective legs. However, that was the high water of the Austrian response, rapidly diminishing force morale forced the Austrians off the table.

Outcome

A convincing victory for the French. But Hauptmann Scharfe learnt some very valuable lessons.

Lessons Learnt

  • Number one and most important this was great fun.
  • The Austrians would have been better advised to use their controlled volley fire.
  • The French Conscript Line may not have charged or moved beyond their position as they were not firing controlled volleys!.
  • Reforming the line from smaller units might well have breathed more life into the Austrian and indeed the French forces.
  • The Austrian Cavalry should have had their own commander.
  • ADLG - Game Report 125

    Triumvirate Roman (83) vs Syracusan (50)

    The final game was against a further Greek army from the colonies in Sicily. With the number of troops that Derek had brought to the battle there was no way I was going to overextend myself!

    On closer examination I noticed that the Greek right flank was weaker than I expected with medium spearmen and one cavalry unit. Would this make a better target than trying to exploit a breakthrough?

    Contact, wait out! The Thracians did an outstanding job of hacking their way along the spears with their rhompias. Elsewhere the legionaries are firmly gaining the upper hand.

    The breakthrough has been made, thanks to the combined effort of the Thracians and legionaries. On the right the cavalry have pinned the medium spears that have decided to come out to play, all we need is to be able to swing around to their flank.

    The cavalry did indeed manage to swing around and engage from the front and flank, destroying one and ready to destroy the next. In the centre the light cavalry are moving forward to exploit the gap in the line.

    The cavalry has exceeded expectation and destroyed the spears and enemy cavalry. Elsewhere the Greek line has been firmly broken.

    Outcome

    A win for the Romans by 13 to 27.

    Lessons Learnt

  • A salutary lesson of what can happen if one exposes one’s flank by over extending.
  • ADLG - Game Report 124

    Triumvirate Roman (83) vs Gauls (89)

    Day 2, and we were first into battle against Gordon’s Gauls. A nice historical opponent. I decided on a left flank attack……

    …….In which Gordon matched me stride for stride.

    My cavalry had started to expose the Gaul’s right flank, if they could of course dispose of the light chariots they were confronting.

    The portents were not good, however, with the cavalry coming a decidedly second best against the chariots. In the centre we have broadly survived the first contact against the Gauls’ furious charge.

    Only to discover that in the second round of combat where the odds were even we came up second, and a very long way back second placed! The less said about the fate of the cavalry the better.

    Once more the ranks of the legionaries have been significantly depleted.

    Outcome

    A win for Gordon’s Romans by 22 to the 12 I inflicted upon him.

    Lessons Learnt

  • Perhaps I need a funeral pyre for these dice, or to gut a few chickens at breakfast to read their entrails.
  • ADLG - Game Report 123

    Triumvirate Roman (83) vs Triumvirate Roman (83)

    The final battle on day one was a civil war! Albeit that the Alisdair brought along an Armenian Ally with cataphracts. In this game I managed to decide correctly to place my main infantry command on the right, anything to avoid my Cavalry going up against his cataphracts.

    Fortunately, the Armenian Ally was hesitant to get involved with the battle; perhaps a late breakfast, or still reading the runes. Nevertheless, I decided to continue to refuse the right and concentrate my effort in the centre and left.

    Unfortunately, the Armenians did not hesitate for long! Instead they decided to rush to the battlefield as soon as they could do so!

    The left made contact and honours were broadly even apart from the damage suffered by one of my cohorts.

    The combined efforts of the Thracians and the legionaries have created a gap in the enemy right flank, the issue would be could I exploit it quickly enough and successfully enough to make a difference. Not least because the enemy cataphracts have already destroyed two cohorts on contact.

    By this stage I only have two legionary cohorts remaining and to add insult to injury the cohort to the right of the two remaining was destroyed by medium cavalry bow fire!

    Outcome

    A loss for my Romans by 22 to the 15 we inflicted.

    Lessons Learnt

  • Relearnt the need to try and avoid heavy swordsmen being contacted by cataphracts.
  • Perhaps new dice?
  • ADLG - Game Report 122


    Triumvirate Roman (83) vs Classical Greeks (Spartan) (60)

    Second battle, after a quick walk around the harbour to take a picture of King William, .....

    ..... was against my second Greek army of the day; Steve’s Spartans, but an altogether different composition to Paul’s. A similar battlefield but with fields and plantations on the flanks. I went for a similar deployment, but with the Thracian’s on the left and the cavalry – all of them this time – on the right.

    Given the length of the Spartan line I decided that it would be fool hardy to try and take the cavalry right flanking and instead moved them to provide support for any breakthrough created by the legionaries.

    I allowed the light cavalry and a pair of legionaries to provide something for the Spartans on my right to play with. Meanwhile my mainline was preparing to engage, with the Thracians already trying to lap around the flanks.

    The Thracians were first in contact, supported by the legionaries on their right.

    The Thracians have chopped their way through the Spartan Hoplite spears and destroyed one unit and have now moved down the Spartan line. The cavalry are moving through the gap in the line that has been created. On the right we are trading space for time.

    The Spartan right flank and centre has been broken. The cavalry are now exploiting the gap with the enemy camp in their sights.

    With the size of the Spartan army we needed to not only capture the enemy camp but kill as many of the units as we could! On the left flank we have engaged the final Hoplite unit pinned to the coats. In the centre we need to reorientate our line ready for the next wave of Spartans.

    The camp has been taken and we are now ready if needed to deliver an attack against the right flank of the Spartan line with our cavalry.

    Outcome

    A win for the Romans by 13 to 26.

    Lessons Learnt

  • A plan that sought of worked once we had accepted that we were not going to be able to execute a right flank attack.
  • The cavalry breakthrough worked well this time.
  • ADLG - Game Report 121

    Triumvirate Roman (83) vs Classical Greeks (Spartan) (60)

    After the practice the main event at Brixham. My first battle was against Paul’s Spartans, who certainly told it to me. I decided to try for a left flanking supporting manoeuvre by my cavalry, while the main infantry line tried to overwhelm the Spartan right wing.

    Right from the start things, as usual started to come unstuck, as my troops in the gully were undone by the spartan skirmish fire. The left wing advanced forward and I used two legionary cohorts to screen of he enemy in the wood on the left.

    In response to my cavalry trying to attack down the left of the gully the Spartans moved to close the gap, forcing my Cavalry to go the long way around – bad decision. Meanwhile the Thracians continue to get overwhelmed with skirmish fire.

    On the left wing the honours are broadly even. Even thought we destroyed a Spartan unit; they are inflicting hits upon me. Despite their losses the Thracians are trying to close the gap with the skirmishers and to generate enough room to allow the cavalry to pass by.

    The Spartans are now wearing down the legionaries with losses amounting rapidly. There looks like there will be insufficient time for the cavalry to have any effect on the battle.

    Indeed, the outcome was determined by the success of the Spartan’s in the centre where the legionaries have been taken apart.

    Outcome

    A loss to the Spartans by 22 to 7.

    Lessons Learnt

  • If you have 22 units make sure you deploy them all! I forgot for some reason to deploy two Moorish Light Cavalry men.
  • I could have potentially driven the skirmishers away from the gully by charging the cavalry straight across the gully, rather than taking the long way around.
  • Concentrating on one flank alone would have been a better plan!
  • ADLG - Game Report 120

    Triumvirate Roman (83) vs Late Imperial Roman (87)

    Next tournament to plan and rehearse for was the 3rd Devonian Classic in Brixham. I opted to play in the 15mm competition, as I did not yet have a 28mm army of the period defined for the competition. Paul decided to filed his Late Imperial Romans, which he would be fielding in the competition in 28mm, as a suitable opponent for me and for him.

    I loaded up my army on the right, refusing my left, with an ambuscade deployed in the wood line on my right.

    The legionaries have managed to form a line with secure flanks. The cavalry are positioning themselves to be capable of exploiting any break through on the centre or right flanks. My Thracians and the lights in support have sprung the enemy ambush to find it empty.

    The line is still intact as Paul’s Romans advance to meet it. Meanwhile my cavalry are positioning themselves for either the enemy camp or the end of its line. A paucity of command dice are limiting my ability to move the lights up in support.

    The lines continue to close. On my right the Moors have been brought back through the Cavalry line to regroup. From Paul’s perspective it would be could his cataphracts overwhelm the legionaries in front of them.

    Contact! The Cataphracts have overwhelmed one of the legionary units, but the other has held. On the right the cavalry have done well even thought he enemy had the advantage of being uphill.

    My centre legionaries are in some bother, as are those facing the Cataphracts. However my cavalry on the right supporting the legionaries were doing an excellent job. The camp is exposed to my cavalry.

    The enemy left is falling before us, we have seized the camp and are also in a position to conclude our attack down the enemy line. The same cannot be said about my left which is now in dire trouble.

    Outcome

    At the time we declared a win for the Triumvirate Romans by 24 cohesion hits to the 12 they received. However, on closer inspection we resolved the fall of the camp incorrectly but despite this Paul was content with calling the result as it was – very kind and generous of him.

    Lessons Learnt

  • Read the rules if you aren’t sure – don’t guess.
  • In the last game turn the left hand most legionary unit charged some enemy lights in order to avoid needing to conform and expose its flank to the cataphracts.
  • ADLG - Game Report 119

    Post-Roman Brits (146) vs Sassanian (109)

    My final battle of the tournament was against Mark’s Sassanids. I suspected a flank march once we had completed deployment, but my mal-deployment by trying to secure what looked like a juicy hill to defend was going to potentially leave me exposed. Moreover, despite the Sassanid’s refusing their left flank and therefore suspecting the flank march would come in on my left, the Sassanian right, I failed to appreciate the consequences and take action accordingly. Perhaps I was hoping that they would be delayed sufficiently, but they managed to arrive on the table on the second attempt!

    It also didn’t help that for at least one turn I did nothing while I had moderate command dice. When I really needed to do something when they arrived my command dice were appalling!

    My left flank was lighting up like a Christmas tree with all the cohesion markers I was suffering. My only hope would be to contact the line of Jewish levy and kill as many of his troops as I could before I lost cohesion.


    In spite of some moderate success on the right, the overall damage inflicted by the flank march was sufficient to cause my army to lose cohesion rapidly.

    Outcome

    A Loss to Mark by 26 to 16 cohesion hits inflicted.

    Lessons Learnt

  • A better understanding of the results of a flank march would help!
  • Just because a piece of terrain looks juicy to defend does not mean one should be a prisoner to its benefits.
  • ADLG - Game Report 138

    Seleucid(42) vs Aramean(74) I had time for one quick game, and I now hat Tony is a quick player! So onto battle with a relatively historica...