AOE(BTLF) - Game Report 3

The Battles of the Frontier – Vosges Aug 1914

Introduction

As a distraction from our current 1809 Campaign I invited Matthew to play a WW1 game using the “Before the leaves fall” derivative of Age of Eagles.

The game scenario is taken from Karl Deuringer’s history of the Bavarian Army in 1914 “The First Battle of the First World War – Alsace Lorraine” translated by Terence Zuber. There are a range of excellent potential scenarios in this book. The one I chose was loosely based on the covering force actions in August 1914 in the Vosges, for reference it is on page 67 of the book. 

It is interesting because of the ad-hoc organisation of the German forces and the 30 (Res) division. The scenario is loosely based on the action because of the sparsity of information of the French actions. I did manage to cover some good information, but not greatly detailed, in the resources Bill Gray has made available on the Age of Eagles site.

German Briefing

The 7th Army is continuing to defend Alsace-Lorraine. Its mission is to tie down French forces to prevent them redeploying to confront the German right wing sweeping through Belgium. The majority of 7th Army concentration is further to the north around Strasbourg and providing the link to 6th army around Nancy.

In order to protect the vulnerable Rhine Valley a number of Ersatz Brigades and Landwehr formations have been hastily assembled to defend the Vosges frontier. Additionally, a new reserve Division, 3oth Reserve Division has been formed south of Strasbourg to command the area between Strasbourg and Colmar.

Contact so far has been light against enemy forward patrols. However, reports are that the French have crossed the Col de Saale and are advancing NE down the Bruche Valley towards Strasbourg. Other forces are advancing down the other valleys to the Rhine flood plain to threaten Strasbourg from the south.

30 (Res) Division mission is to seize Ville and Triembach to protect the Armies flank, destroying enemy within the zone.

German scenario specific rules

  • All Infantry Regiments or the Ersatz Bde are 8 figs (8/5/3, 8/6/4, or 8/7/5 a dice roll when the unit takes a casualty to determine which of the three factors is used)
  • Landwehr is militia, all the rest of the German troops are Regular
  • Res Infantry Regt MG Coys can be integrated or separate
  • There is no Corps Commander.
  • Command radius of Brigade commanders is reduced to 6”
  • Div Arty is under the command of the Divisional Commander
  • 2 Landwehr Brigade comes under command of 30 (Res) Divisional Commander only once it has come into his command distance.
  • All on table troops less those deployed within 3” of named places must be deployed within 6” of the E table edge.

French Briefing

The Army is continuing its advance into Alsace-Lorraine. In the southern sector the main effort is 21eme Corps advance North East against Strasbourg. At the same time 7eme and 14eme Corps penetrate the Vosges mountains, seize the passes and protect the Armies flank.

Contact so far has been light against enemy patrols and rearguards. However, reports are that the Germans have assembled a reserve division and various Landwehr and secondary troops to protect the Rhine Valley.

14eme Corps Mission is to seize the passes at St Marie, Urbeis, Saales and Charbonniere. Once these have been secured the Corps is to advance down the valleys to threaten the Rhine Valley. 140eme Regt is to advance to the area of Selestat and to destroy railway line and infrastructure running North to Strasbourg. (The yellow square is the battlefield).

French scenario specific rules

  • All Infantry Regiments are 8 figs (8/6/4 or 8/7/5 a dice roll when the unit takes a casualty to determine which of the two factors are used) all are Regular
  • All CA (Chasseurs Alpin) Battalions are 4 figs (4/3/2) and are Elite
  • All artillery Groups are 2 artillery bases
  • All MGs are integrated in the Battalions
  • There are no Divisional or Corps Commanders.
  • Command radius of Brigade commanders is reduced to 6”.
  • 28eme Divisional Artillery can only be placed by either of its Brigade commanders
  • 27eme Divisional artillery can only be placed by 53eme Brigade commander.

Game Map and the Terrain

The battlefield looking from the SE as seen by an aerial observer on the morning of the 18th August 1914.

  • The dotted line is a track. Infantry and Artillery Columns move at normal speed along tracks.
  • All infantry lose 3” movement when going up a level on a hill in woods.
  • Artillery are not allowed to go up a level of a hill in woods.
  • Artillery can prolong in woods, but they cannot do anything else that turn.
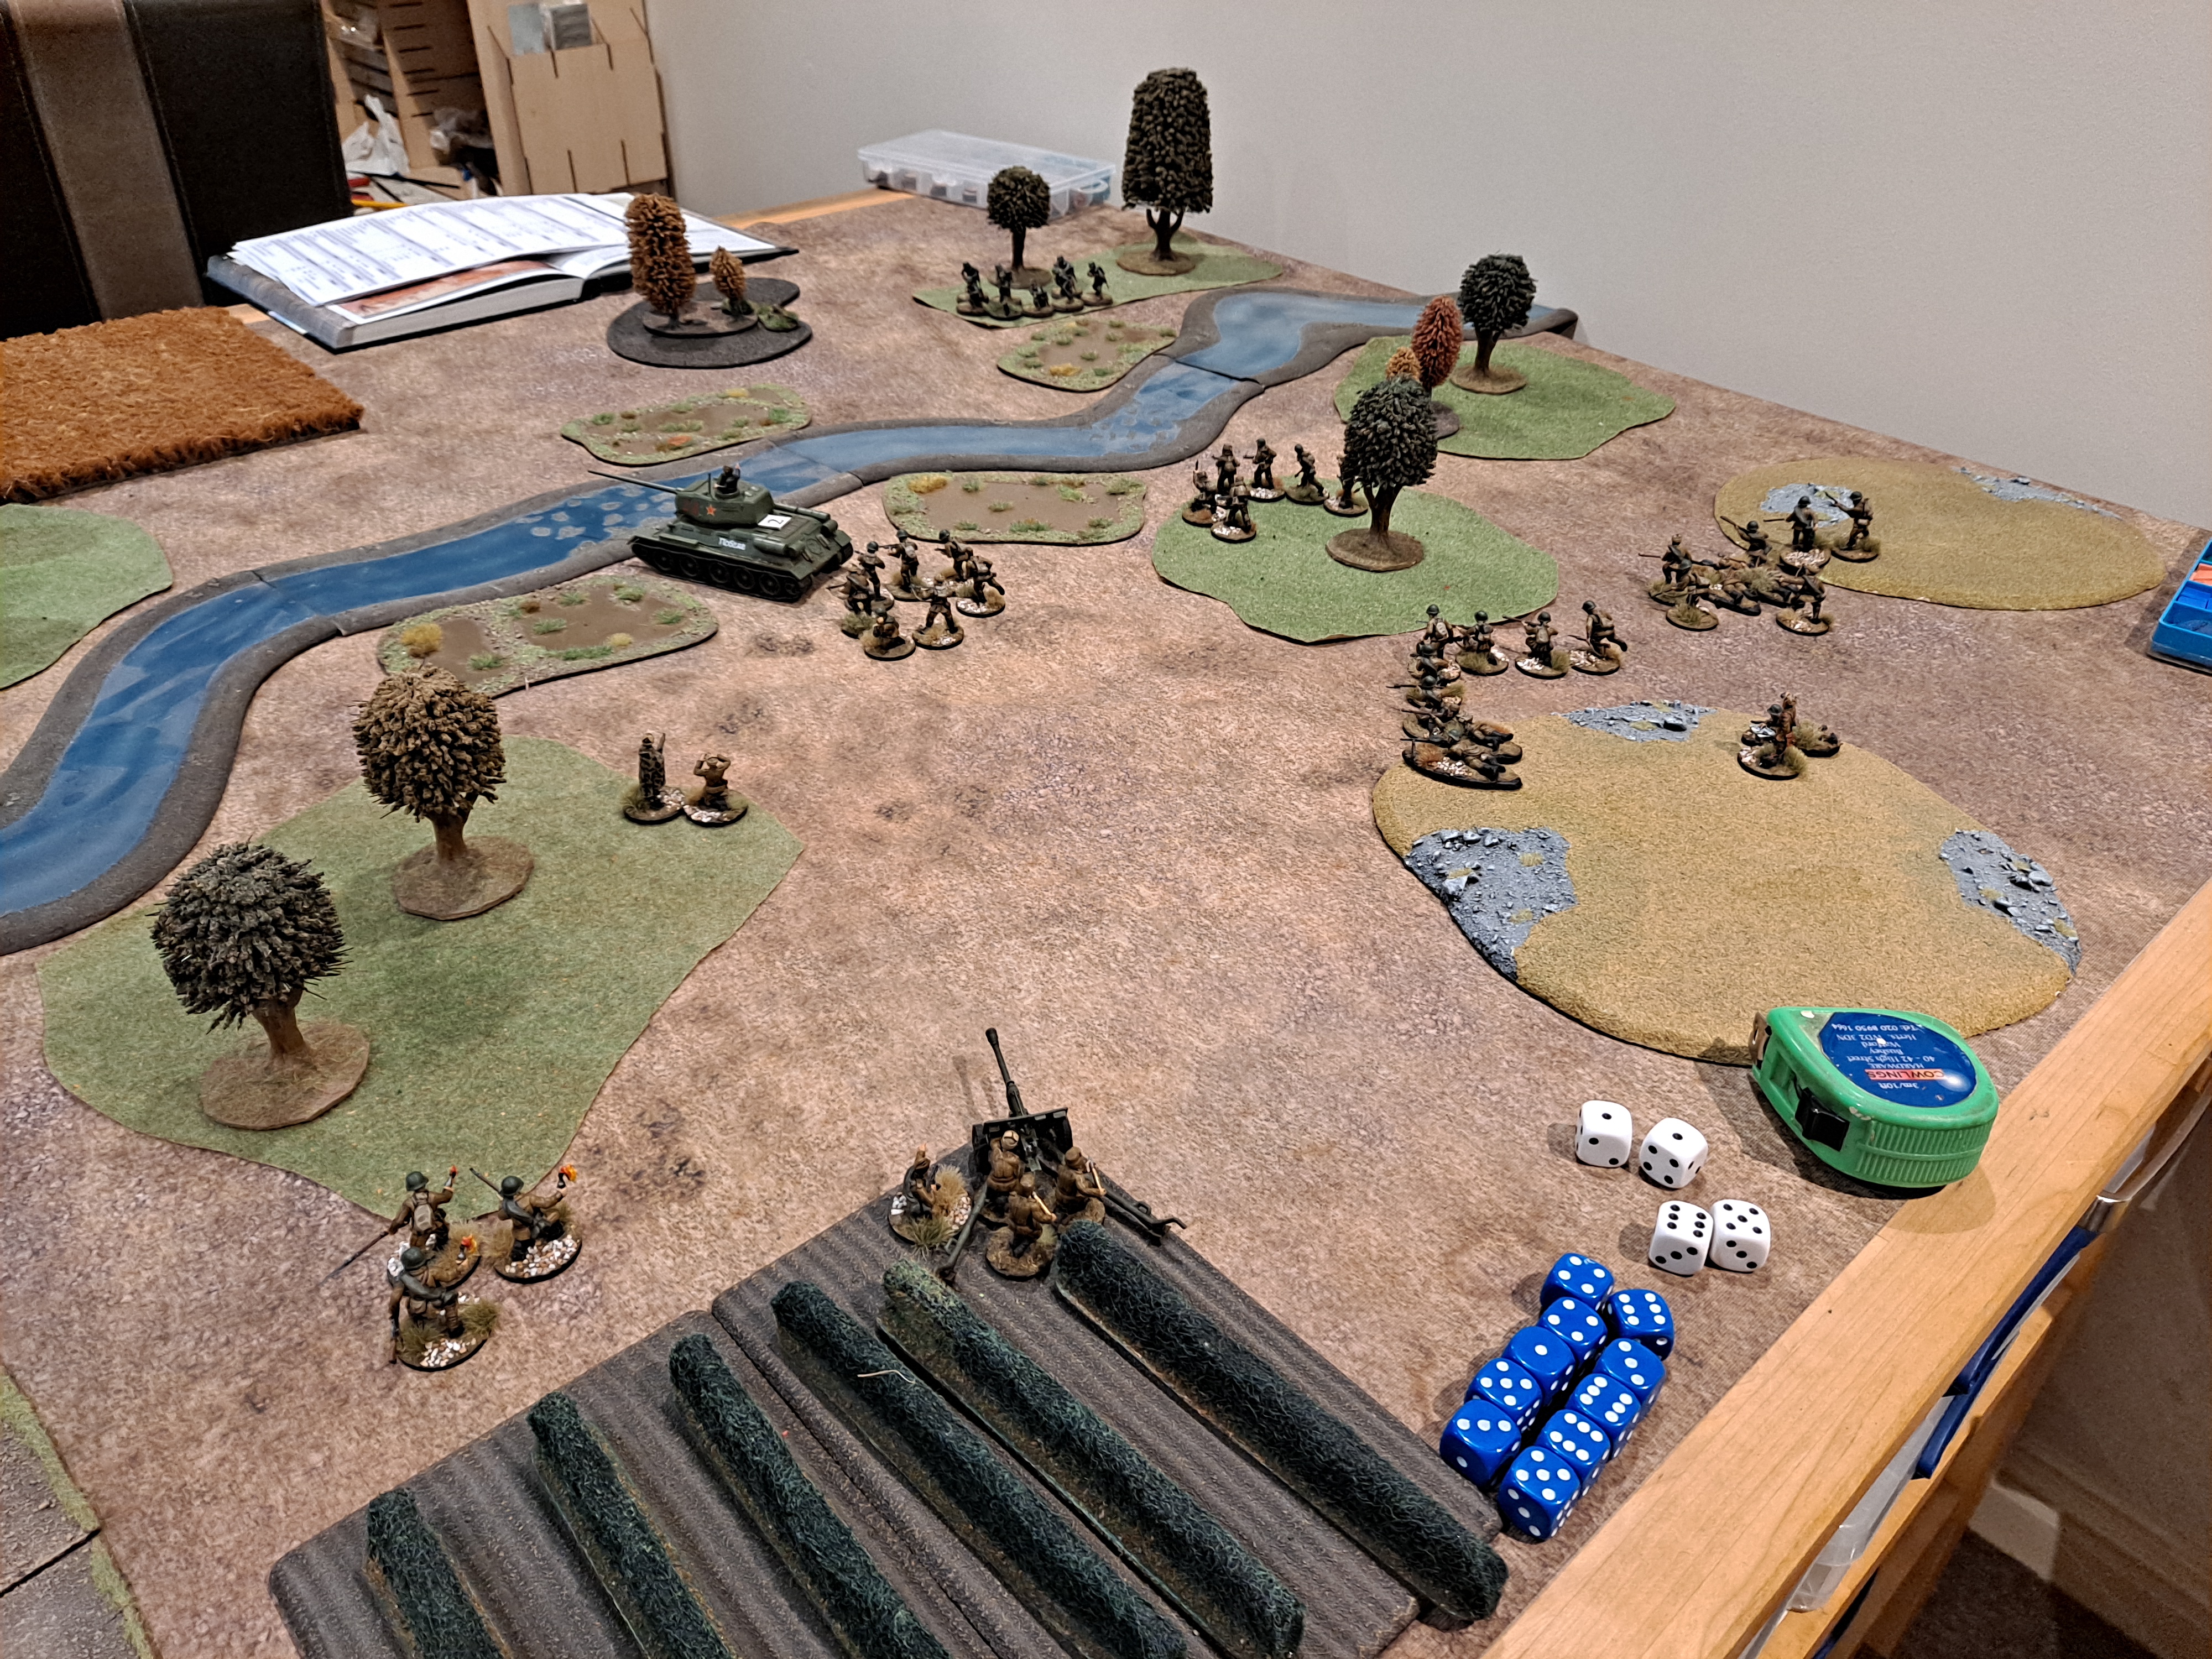
The Battle

The battle started at 1200hrs with the fire fight between 27IR in Triembach and the 50eme IR in Ville. The French rapidly gain fire supremacy over the Germans. Meanwhile the German artillery is about to come forward and deploy.

The 78eme IR in Chateau du Frankenbourg supported by their 75mm guns engaged the German troops in Thann.

27IR were driven out of Triembach by the fire and the artillery sent forward to support them was damaged by the French infantry fire.

At around 1430 the German 10th(Res) Brigade commander decided that he needed to take firm action and directed the 66IR to advance and attack the French troops on the high ground of Chateau du Frankenbourg.

Over the next hour the 78eme IR fell back repeatedly and abandoned their position on the high ground. The removal of this threat to the German flank meant that the 10th (Res) Brigade Commander could redeploy the 66IR to support the 27IR in order to respond to the reports of new French troops arriving from the north.

Although the 50eme IR felt sufficiently emboldened to advance now that their reinforcements had arrived, these very same reinforcements were delayed and harassed by very effective long range German artillery fire.

By 1600hrs the French had managed to seize Neuve Eglise, and reoccupied Ville. However, for both sides the cumulative losses were having significant impact on the willingness of the troops on both sides to advance. By 1630hrs both sides were retiring to lick their wounds to regroup.

Outcome

Both Matthew and I called this one as a marginal tactical French victory in that although the French were not able to advance to destroy the railway line, they were able to force the Germans out of the Vosges and back into the Rhine Valley and to retain the battlefield. For the Germans the losses they suffered in stalling the French were also significant and could have had operational impact on 6th and 7th Army future operations.

Bolt Action - Game Report 14

Double Envelopment - Operation Rumyantsev Aug 1943

Introduction

After the first encounter battles in the operation 1075 Rifle Regiment were withdrawn and reorganised and new units were added to the force mix – notably a scout section and a Zis-2 Anti-tank gun.

Situation

As is often the case greater Soviet numbers have prevailed and there is a window of opportunity to penetrate the German defences and envelope and destroy a German Battlegroup. To do so we will have to cross a river, which will present a significant barrier to mechanised troops.

Enemy Forces

The estimate of German forces is that they do have armour support, but it is likely to be limited, and will be concentrated around the bridge crossings or fords.

Friendly Forces

1 Pl has been reorganised in to 2 regular squads, and a green replacement infantry squad, and it has been reinforced from Coy HQ with 3 anti-tank teams. Division has provided the regiment with an artillery observer, T34-76, Tank rider squad, scout squad, and a Zis-3 in support and under command for the operation.

Mission

1075 RR is to penetrate the German defences as quickly as possible and envelope them from the rear.

Combat Report

The scout squad was forward deployed to investigate potential crossing points. They discovered a number of fords suitable for vehicles and they assessed that the river was crossable by infantry throughout its length.

The T34-76 with its tank riders were committed to the central ford at all possible speed.

Once they reached the ford crossing the T34 came under fire and the Tank Riders were forced to dismount. The main body of 1 Pl were sent forward to exploit the crossings the scout squad had found. They were provided supporting fire from the ZIS-3 and the sniper. On the left the green section occupied a wood to protect the left flank and the crossings to the left of the road.

Excellent spotting and fire direction from the artillery observer destroyed a number of German units protecting the bridge. This enabled the T34 to cross the ford, but unfortunately the tank riders were destroyed as they ran across the ford. A section of 1 Pl was redirected to support the T34, while the other section provided fire support for the scout squad as it advanced. The artillery observer, advanced in support as did the anti-tank teams. On my left flank the reserve infantry section eventually was forced to withdraw under fire. It and an anti-tank team prevented the Germans crossing the river on the left flank in any great strength.

The scout squad pressed home their assault and destroyed the German infantry section, in doing so they fought back a brave but suicidal counterattack by the German’s officer.

Outcome

A resounding victory for the Soviet forces who managed to get an infantry section and a T34 into the enemy rear.

Bolt Action - Game Report 13

Meeting Engagement Operation Rumyantsev Aug 1943

Introduction

This was to be the first battle for my Soviet Bolt Action army, against Kevin’s redoubtable Germans. Therefore, please meet Lt Vasiliy Ugryumov commanding 1st Platoon 4th Company 2nd Battalion 1075th Rifle Regiment (2/1075 RR).

Situation

After successfully defeating the Germans at Kursk the Stavka have directed that the next major operation is to attack Army Group South. The operation was delayed in order to allow the Soviet forces to regroup and rearm after defending Kursk.

Enemy Forces

Divisional Scouts had penetrated the forward German positions had identified that opposing the Division was a German Battlegroup supported by PzIVs and half tracks. They were well equipped with weapons and ammunition, but their overall numbers were low.

Friendly Forces

1 Pl own 3 sections had been reinforced with a section from the regimental SMG Company, and from 4th Company a mortar section, MMG section, sniper team, 3 anti-tank teams and a reserve inexperienced section. Artillery support was provided by an observer team and a ZIS-3 and a SU-76.

Mission

1 Pl is to advance and seize 1075 RR initial objective.

Battle Report

The main effort was directed at the right flank. With the objective of using the wooded terrain to outflank the Germans as they advanced. The initial wave consisted of the fire support from the Zis-3 and SU-76. With 2 sections leading the attack

The German reaction was immediate with armour support arriving in the centre to engage and destroy the Soviet supporting fire. A long fire fight started between the Mortar team, ZIS-3 and the SU-76 and the German vehicles. At one stage the PzIV caught fire but this was rapidly extinguished by its crew and they re-joined the fight.

The German reserves arrived rapidly on the Left to oppose our advance. We suffered significant casualties from the German LMG and Assault Rifles.

Our own reserves were heavily delayed and were desperately needed due to the casualties suffered by the first wave.

The remains of an 8 man section that was detached to protect the left flank.

Outcome

A significant German victory.

ADLG - Game Report 51

Burgundians (242) vs French Ordonnance (245)

Returning from holiday and a busy March I decided it was only right to get back into the ADLG groove; in part to make sure my memory of the rules didn’t atrophy (which it had!). I invited Mark to chez moi for a game. He wanted to practice for the next round of the Southern league. I decided that it would be best for me to field something other than the army I planned to field at the same competition and put together a Burgundian army as his opponent.

My Burgundians are Knight heavy with a mix of elite ordinary and impact and impetuous units. On the right I deployed my pikes supported by their organ guns. On the right I have deployed my coastline – courtesy of a blue floor mat from Ikea over painted to the coastline effect!

A stately advance by all concerned, did not feel obligated to advance too far on the right as I didn’t want to take my pikes into the field.

The right flank was to become a firefight with both of us exchanging hits and rallying them off. In the centre we are about to make contact, while on my left Mark’s elite Swiss pikemen have emerged from ambush.

Contact is made, but I wasn’t sure that I should be charging Knights into elite pikes!

No, it was not the correct thing to do and my Knights on the left are not very healthy and the benefits of Halberdiers with Polearms can be seem with the cohesion losses! In the centre my Knights aren’t looking too healthy either, all bar one who has broken through and is only faced by light troops.

On the left the Knights have almost finished, but some cunning rallying and good combat rolls have prevented them dying! Not so in the centre where we are not well at all! On the right I am winning the firefight and a cunning use of my crossbows has contacted the rear of some Knights. Despite having factors in their favour, the Knights beat back the crossbows – Mark and I reckon that the Knights were so surprised that the rear rank fell off their saddles and crushed the crossbows under the weight of their armour 😊

The Swiss have rolled up my left flank with my Knights failing to repeat their epic combat rolls. In the centre the light cavalry are trying to encircle my Knights who broke through. While Mark’s Knights who were fighting my Crossbows have now made them pay the price for their adventurism!

Outcome

A win for Mark with 12 losses out of 19 to my 24 losses to 21.

Lessons Learnt

  • We both forgot initially the combat factors for melee support on a flank – how quickly the rules fade in your memory.
  • The important lesson for me was to avoid charging Knights into elite pikes.
  • Equally if you are wanting to try something different tactically (such as charging Knights into elite pikes) or run an experiment, it is better to use an army that you don’t have an emotional attachment to.

ADLG - Game Report 50

Andalusian Arab (133) vs Medieval Scandinavians (251)

After a pause, for a little browsing around Entoyment, my next game was against Ian. I decided to field my Spanish Arab army against his Scandies.

A very linear formation for me with cavalry on the flanks and infantry in the centre. And fortunately for once, little terrain.

I advanced in good order keeping everyone together, I have also thrown my light cavalry out to the flank. I was not sure how my heavy cavalry was going to perform against his Knights.

Ian paid a lot of respect to my cavalry on the left and withdrew his knights. In the centre the spearmen are doing much better than they have in the past!

The light cavalry on the left are playing with Ian’s Knights, while the light cavalry on the right have reached his camp – a first for me. In the centre the heavy spearmen are continuing to whittle down his infantry line, and my heavy cavalry are poised to add their weight from the left flank.

Ian’s Knights have re-engaged successfully and on the flank of one of my heavy cavalry, but it is all a bit late, as losses in the centre and the loss of the camp have pushed him over the edge.

Outcome

A win for the Andalusian Arabs

Lessons Learnt

  • Don’t expect Heavy Cavalry to win against Knights!
  • ADLG - Game Report 49

    German-Tencteri (91) – Anglo-Saxon (151)

    A couple of weeks, as if a weekend at Beachhead wasn’t enough, a number of us gathered at Entoyment for ADLG round-robin. It was a great opportunity to field some armies I haven’t played with recently. 

    My first game was to gather my barbarian horde together and shake them out into the German Tencteri Tribe to fight Mark’s Anglo Saxons.

    I placed the commands in line with the cavalry on the right and advanced in echelon by the right.

    Mark responded in kind.

    I have managed to get my light cavalry well forward in a hope that I can get around into the rear and attack the Anglo Saxon Camp.

    In attacking Mark’s left with my right my medium cavalry have pinned his troops which has allowed the light cavalry to penetrate his line. My swordsmen on the right have fought extremely well and broken his line and inflicted lots of cohesion points. In doing so it provided the opportunity for one of the swordsmen on the right to attack the flank of his shield wall in the centre.

    Mark’s left is crumbling under my attack, while in the centre we are starting to roll up the shield wall from the right, despite the cohesion lost in front.

    Before my left flank comes into contact I have almost defeated the right and the shield line in the centre is also looking sparse.

    Outcome

    A win for the Germans, and a great game even if I did win.

    Lessons Learnt

  • Perhaps Frederick did know something about warfare with the echelon attack!
  • Another valuable lesson from Mark on how a road can consume a terrain piece in order to reduce the amount of terrain on the board.
  • French Revolutionary War Army of 1799

    French Revolutionary War Army of 1799

    About 6 months later than I would have liked I now have painted my French Revolutionary War Army. It is based and organised for Bataille Empire and comprises currently what are effectively 3 Divisions and a Corps Reserve of 8lb'ers and converged grenadiers. 

    This is the third division with its 3 Ligne Demi-Brigades and supporting Heavy Cavalry Brigade and artillery battery.

    The 2nd Division is supported by a Dragoon Brigade Artillery as well as having a Legere Demi-Brigade

    The Legere Demi Brigade leading the 2nd Divisions Infantry.

    The Corps Commander with his reserve. A Converged Grenadier Brigade and Heavy Artillery. 

    The 1st Division with a supporting Hussar Brigade and artillery battery. The Legere Demi-Brigade leading the division's infantry.

    The massed standards of the 1st Division's Ligne Demi-Brigades

    Future Development

    • Some period correct commanders, including personality figures.
    • A couple more Demi-Brigades some with earlier head gear.
    • A Chasseur a Cheval Brigade.
    • Some limbers for the artillery to deploy it as Horse Artillery.

    ADLG - Game Report 48

    Low Countries (243) vs Wars of the Roses (247)

    It was down to the final game against Martyn’s Wars of the Roses Army to try and recover some points.

    The irritating the field on my left flank was my own fault and once again I didn’t really think through where I needed the terrain! However, on the plus side I read up on light artillery and discovered that infantry can interpenetrate artillery; hence the deployment of the pikes behind the guns. This has the advantage of providing fire support before contact and shortening the line. The next problem to address was which wing of Martyn’s Army should I concentrate on?

    As you can see my own field is causing me grief as I struggle past it! On the left my Knights are in danger of being outflanked – perhaps it wasn’t a good idea to put my camp on that flank. Meanwhile the bulk of my army in the centre doesn’t yet have an enemy to contact.

    The tactical problem Martyn presented me is growing in stature. Where do I place my effort on the left flank or the right?

    I chose left, in part to defend my camp, but also because I could hopefully, command points willing, move into contact quicker there. In doing so I was rather sacrificing my right.

    Despite losing a halberdier unit my left flank is about to come into contact. My Knights are holding ground as the enemy’s longbow men have deployed stakes in front of them.

    I have managed to manoeuvre some Knights forward to support the centre. Meanwhile my left is looking fragile, it all depends on what my pikes can do against Scottish pikes.

    Although I am making some progress all is not as well as it looks with cohesion losses rising rapidly. Worse was to come. In the centre my Longbow swordsmen are fighting one of Martyn’s halberdiers. I had support on both flanks and despite inflicting a cohesion point on them, which they rallied off, and fighting for at least 4 rounds of combat the halberdiers on the very next combat roll destroyed the longbows! This rather summed up my afternoon!

    Outcome

    A loss to me and a win to Martyn in what was a very exciting and demanding game.

    There should have been a medal for the best performing unit showing at Beachhead and which showed valour above and beyond; for that my award would have gone to Martyn’s brave halberdiers!

    Tournament Outcome

    After 5 battles I cam away with 1 win, 1 mutual destruction, and 2 losses for a total of 210 points and 12 place. A better outcome than I had achieved on previous competitions. The competition statistics can be found here on the main ADLG site.

    Lessons Learnt

  • The artillery tactic worked commendably well.
  • I have too think more about terrain deployment; perhaps smaller fields?
  • I think I should have committed sooner and quicker on my left and centre.
  • ADLG - Game Report 138

    Seleucid(42) vs Aramean(74) I had time for one quick game, and I now hat Tony is a quick player! So onto battle with a relatively historica...