The Battlefields of the Pyrenees
Some 30 years ago now I was on holiday in the southwest of
France and I took the opportunity to visit the battlefields of the Pyrenees
fought over by the French and British in 1813. I thought it would be good to
share the pictures I took then, as these battlefields are off the beaten track.
I was curious to see the actual terrain that these battles
were fought over. Particularly the Battle of Sorauen as I wanted to refight it
at some stage, which I did relatively successfully using the WRG rules in 6mm.
The journey to Sorauen and then onto Pamplona for a late
lunch started on the French side of the Pyrenees at Saint-Jean-Pied-de-Port,
and then south through the Pyrenees.
Roncevalles
The first stop was the site of the Battle
of Roncevalles, and incidentally the famous Battle of
Roncevaux Pass fought by Roland in 778.

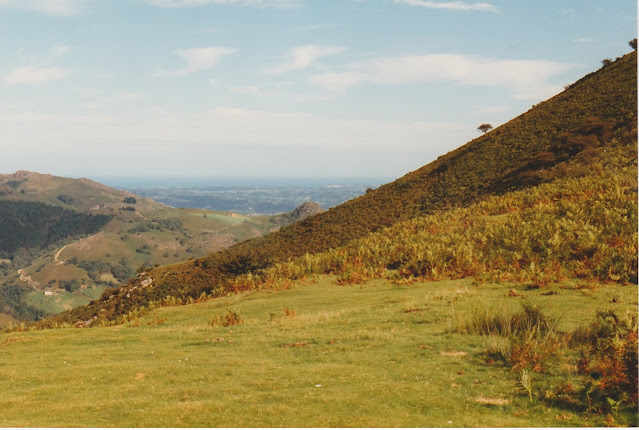
When you see the nature of the hills and terrain and then
compare it to Oman’s
maps, it is easy to see why the French came on in columns. The nature of
the hills these forces fought over give a new meaning to steep terrain as
described in wargame rules!


The Battle of Sorauen
As near as I can recall the pictures were taken from a few hundred
metres west of Sorauen village looking south to the British position at 42°52'03.6"N
1°36'17.8"W; please bear with me as it was 30years ago! A final point of
course is that the hills in these pictures it goes without saying that all
these woods are young woods and it is unlikely to have been as wooded in 1813!
Firstly, before that location this is looking south on the
road running south in Sorauen. The British would be on the hills to the front

This is looking east from the location. It would not have
been possible for Soult to easily move to outflank the British from the East.

This is the valley to Pamplona to the south of Sorauen. The
British 6th Division arrived from the valley in front of the wooded
hills in the distance and over the hills immediately to the front to reinforce
the British position and threaten the French right flank.

This is looking south and west to the main British Position.
The French would have had to descend from where the picture was taken to the
small valley floor immediately at the foot of this picture and then they had a
long advance over broken steep terrain to reach the British at the top.

This is looking west to the col that is to the west and
north of the British position. Beyond this is the valley that the French also
came down to advance on the position. The col also forms part of the ridge line
along which Foy retreated on the 30th July.

The final two pictures give a better appreciation of the
depth of the valley to the front of the French position and the steepness of
the rise to their front to the British position.


#/media/File:Combat_of_Roncesvalles_by_Charles_Oman_1922.jpg)
No comments:
Post a Comment