Some Musings on Bolt Action Version 3
Introduction
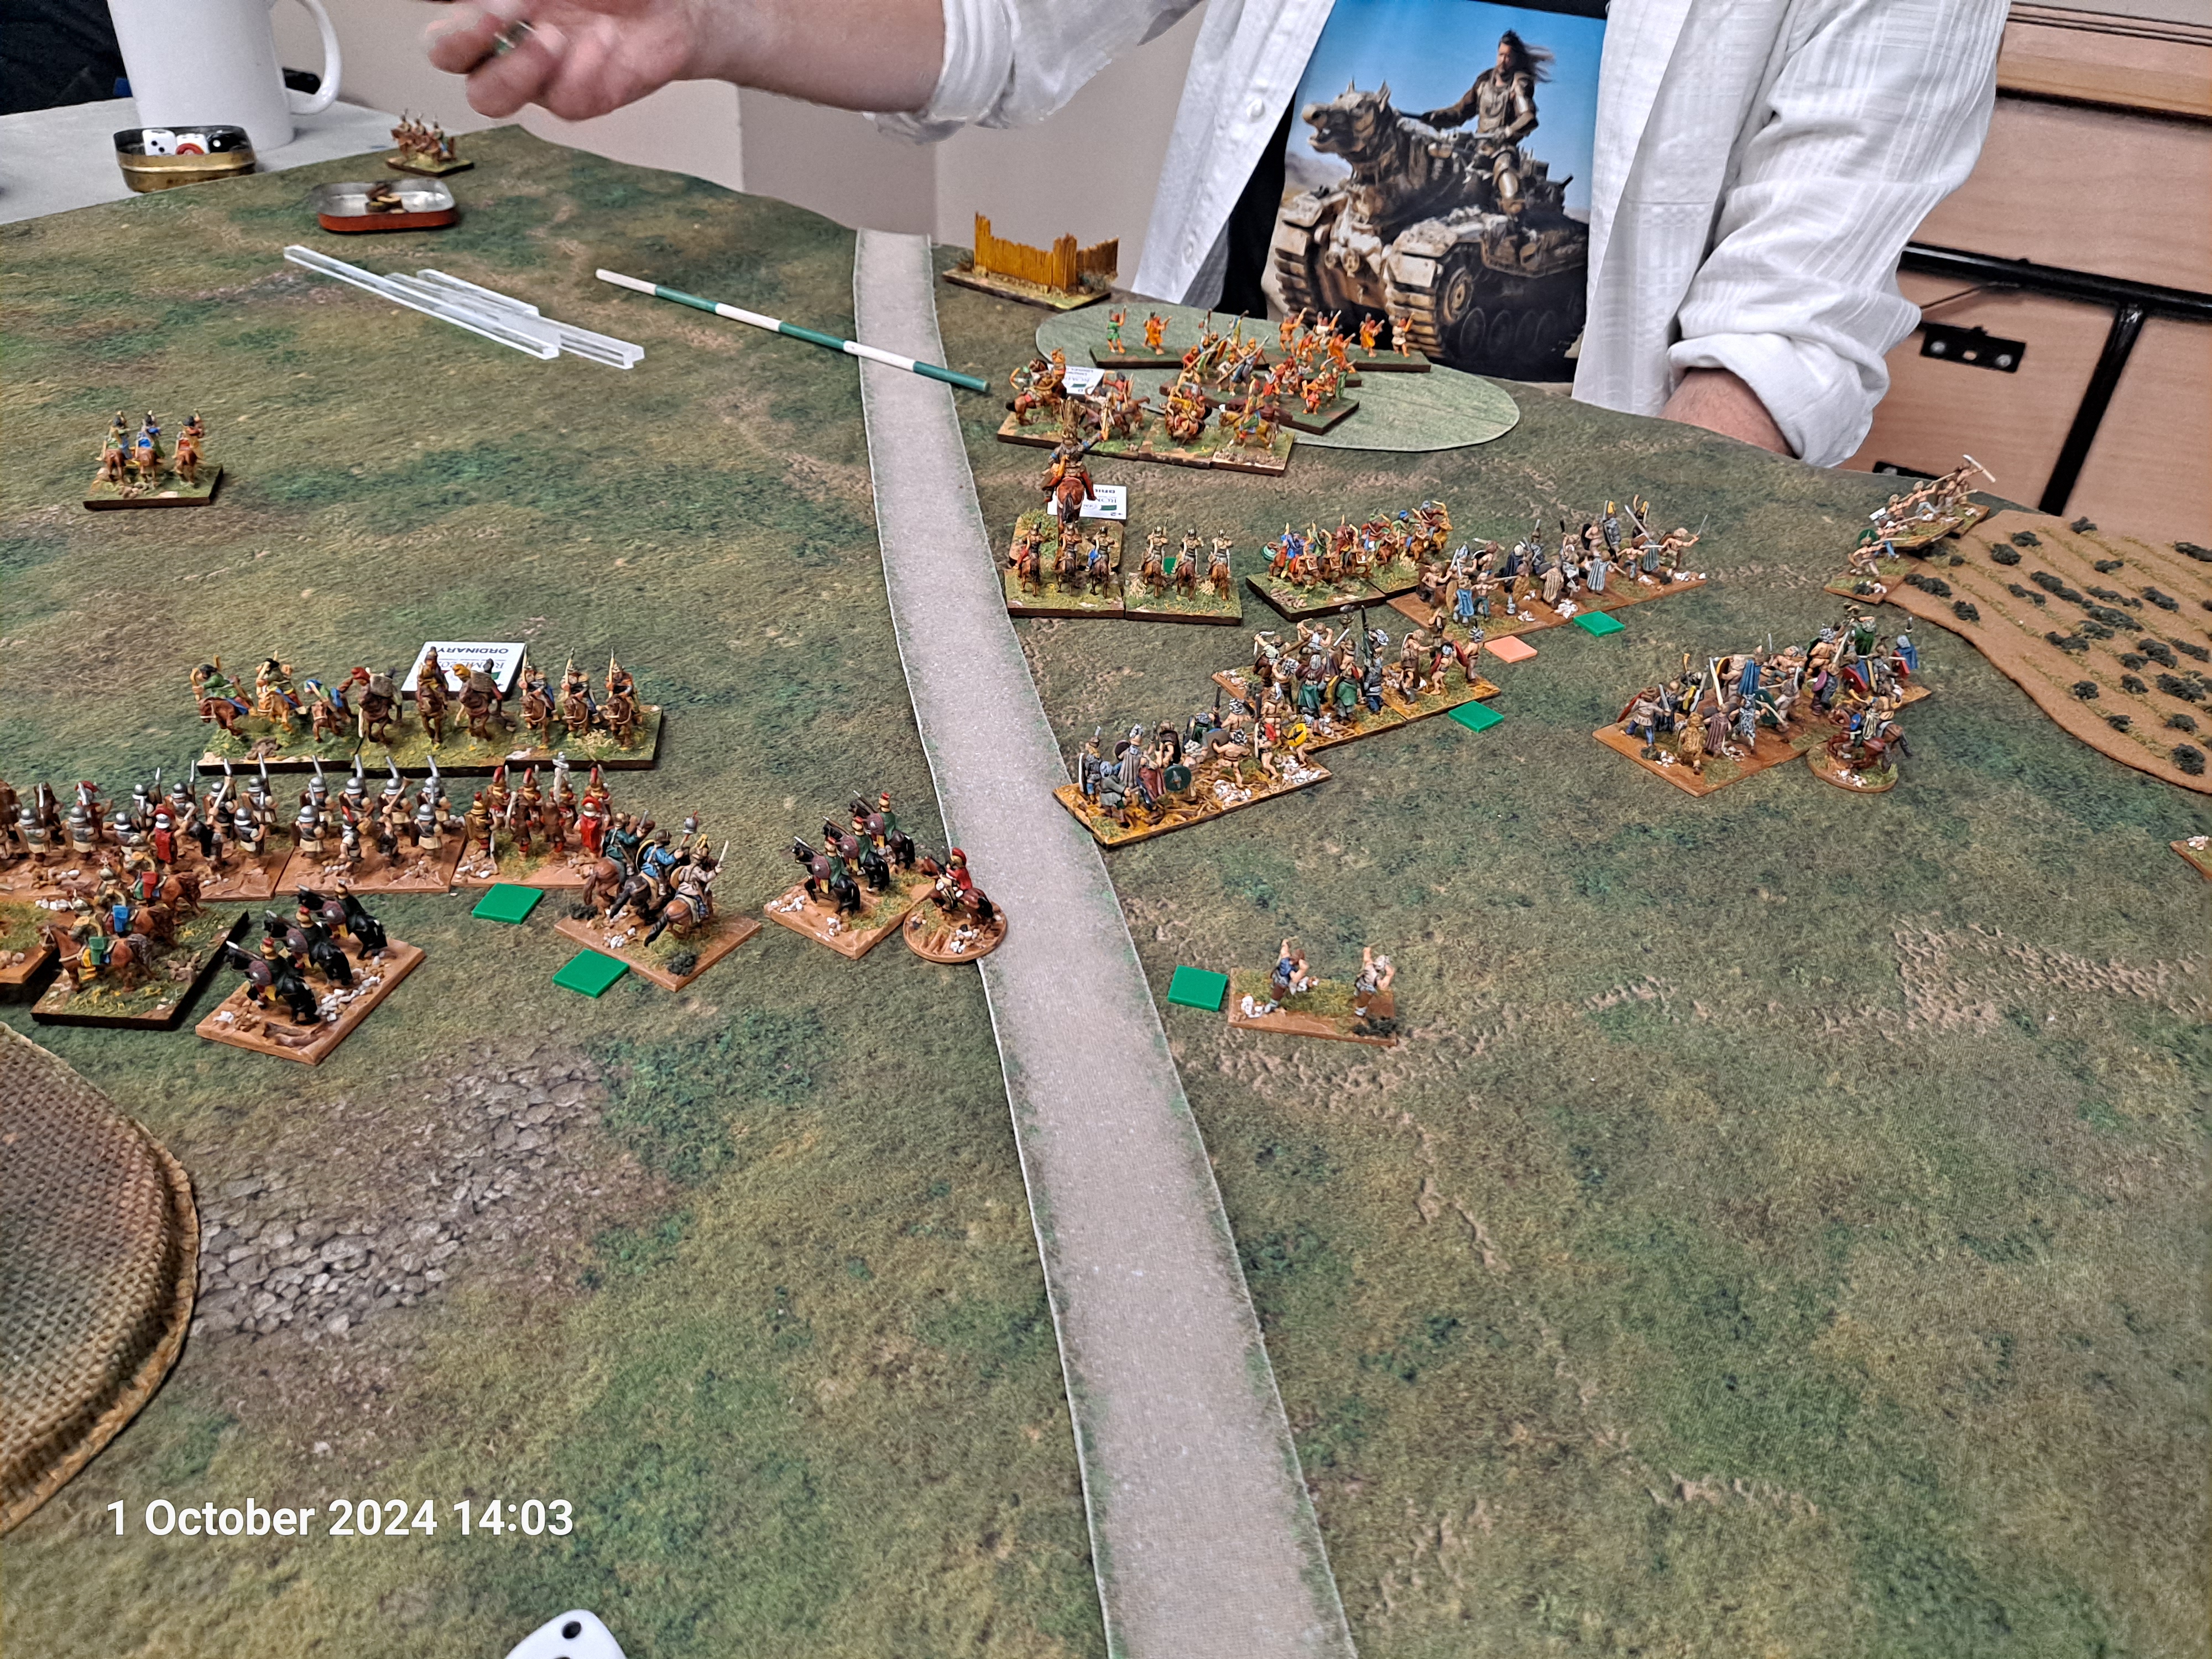
I thought I would go through some of the changes to Version 3 and my thoughts on the and perhaps some changes in tactical behaviour and army order of battle (orbat) selection we might want to consider. I have been thinking about these and some of them came home to roost in a series of three games at Entoyment. There is no specific order to these musings but in principle I will try and stick to the order within the rules.
The other point is of course these are based on my gaming experience and I am sure I shall revisit these musings again.
Orders
A minor but an important change that will have great implications when playing is that when ordered to rally you lose all the pin markers, or when you retain the Down order at the end of the turn. Also, it is the same if you role snake-eyes when taking an order test. The implication here is that a rally order becomes a no-brainer when you have lots of pin markers, and trust me in this version one is going to be gathering a lot of pin markers as it is much easier to hit.
Shooting
A lot has been said about shooting, and the fact that one hits on a 4+ now. Additionally the as we now the modifiers to hit are less than in version 2; gone are long-range fire, small team, cover effects, and the cumulative effects of pin markers. Also note that it is just -1 if pinned!
There is one important modifier that is buried in the rules at page 96. Anti-Tank fire (guns or tanks) has a +1 modifier if it is given a Fire order!
Do not ignore the benefits of cover from shooting. The terrain benefits and being down in the cover saves is incredible. Also, if Infiltrators are not Advancing or Running, they also get an additional -1 benefit on cover saves. Remember that there are no cover saves at point blank range, or when firing indirect fire at targets. If an SMG or assault rifle squad get in close then watch out, and call the medics.
It confused me at first whether one should do the cover saves before damage or vice versa. In the end it doesn’t make any difference! However, when firing at vehicles it might be best to do cover first!
The last word on damage, Exceptional Damage is a thing of the past.
The rules on cover and shooting at pages 86 and 87 are really a lot clearer – thank you.
Indirect Fire
The first significant change is that anyone who is an observer can spot for any indirect fire weapon. This means that if you do not necessarily need to pay for the Mortar spotter if you have an artillery FOO. However, given the increasing likelihood of casualties in might not be a bad thing to pay for the spotter!
The next observation relates to the impact of the changes in the orbats. Previously Mortars and Artillery became somewhat of a nice to have rather than being instrumental in the game. Not now. For example, the Heavy Weapons platoon could have between 2 and 5 Mortars! Based on my experience in my first three games, having a Heavy Weapons platoon with 2 mortars, or 3 if you are German can be a game changer. Why?
It is because their junior platoon commander can snap-to 2 units or 3 if German; think what a senior officer with the ability to snap-to-action 4 or 5 units can do. Which means a Mortar or Artillery barrage is now a real threat. It means that with 2 Mortars snapped to the chance of at least one of them hitting on target on your first roll is now 30% compared to 17% for a single mortar. If you have three Mortars snapped to the chance of getting at least one hit on first firing is now 42%!
Clearly, we can all go down to reduce the casualties, but in times of ore we all tended to risk it. Moreover, at the same time we also used to keep our models as close to each other as we could for maximum fire effect and keep them in range. The benefits of keeping 1” separation between infantry figures in the same unit is now becoming very important to reduce the impact of casualties! They used to call this Artillery Formation in WW1, to ensure that the blast radius didn’t call too many troops – a lesson we need to learn for Bolt Action V3.
Close Assaults
It has been well reported that closing to assault is a very deadly endeavour. I conducted at least one close assault, with an inexperienced squad of 5 men against a single man with a Panzerfaust – we won. Don’t close assault unless you have numbers on your side.
Officers
The impact of snapping-to-action are now very beneficial indeed, if used at the right place and time. In principle one could use the officers to ensure that sufficient prep fire is brought onto a target and which would then allow one to manoeuvre closer to a target. Sound tactical principles are coming out from the rules.
Additionally, do not forget the morale benefits of having an officer around. I can see that more players will start to employ senior officers on their side to organise and lead their troops.
Snipers
The basic rules are the same. The sniper has the benefit of +1 to hit and +1 to damage when sniping. The firer picks the victim, so lost squad leaders, observers, or weapons carriers etc. There are no cover saves!
Vehicles
The new rules for superficial damage take a little effort. My best advice is go for a kill if you can! A point of note is that if your turret jams in response to a superficial damage result then it points to the closest enemy not the greatest threat! This meant that my T-34 ended up with its turret pointing away from anti-tank armed tracked vehicles and instead pointing at a single mortar spotter!
If you leave the people in the transport and the vehicle is destroyed be prepared for mass casualties!
The Command Vehicle rule is great. Being able to snap-to-action a second vehicle within 12” is great to be able to conduct some aggressive armoured tactics.
Buildings
I didn’t get into any buildings during the game, but I did note that now we can advance into a building. This means you can move in and fire from hard cover immediately.
Scenarios
There are now 36 potential scenarios! Which doesn’t include story scenarios, and what I am sure will be more scenarios in books to come from Warlord. This is good, endless variety; I cannot see us getting bored any time soon.
A word of caution for Scenario 6 “Hold Until Relieved” reinforcements can come on from any side, and I do mean any side. The potential for carnage is high if one gets one tactics right, and of course if your reinforcements arrive.
Army Special Rules
A word on these.
Overall Thoughts
I am sceptic when it comes to commercial rules bringing out new versions. It could be seen as a way of promoting revenue generation for their associated figure manufacturing. I can see how this might be the case in Version 3 with the need to buy more officers and artillery and mortars. However, overall I think the changes are very good indeed, and I like the way the game plays.