ADLG - Game Report 106

New Kingdom Egyptian(14) vs Assyrian(7)

For my last and final outing for the day I brought out the Egyptians, against Tony’s Assyrians. An opportunity for my new camp to visit the table. A fairly typical deployment, with the chariots on either wing. The army has less impetuous swordsmen than in previous iterations of the army.

My attack plan was to close on the right rapidly and try to exploit the gap in the Assyrian line between his left flank chariots and infantry line.

In response Tony decided that he would rely upon the missile capability of his chariots rather than advancing to meet me on the right. This left the left flank of his line exposed. Although to his credit, and is some what usual, my elite heavy infantry was, once again, bested by their opponents on contact!

Also as is typical in battles of this period the battle didn’t last long as casualties amass very quickly, and in my favour. On my right I have destroyed two chariots and in the centre my elite heavy infantry have come back strongly after their failure at initial contact, combined with the flanking attack by my spears the victory was mine!

Outcome

A win by 10 cohesion hits suffered to 22 inflicted on the Assyrians.

Lessons Learnt

  • When an opportunity arises, seize it.
  • The army design worked well.
  • ADLG - Game Report 105

    Seleucid (42) vs Later Macedonian (45)

    One of he reasons I wanted to field a Successor army is that I have enough for 2 armies, and it is about time I learnt how to build one and fight it. As you will see this was not the battle against Paul to do either! As you can see, I am attacking and it all looks very comfortable at this stage and the battlefield seems to be manoeuvring counter clockwise.

    After a number of turns the battlefield has swung around to parallel the short table age. Given the move of Paul’s cavalry to his right I have moved mine over to counter then and to support the elephants.

    The battle hasn’t yet fallen apart on me at this stage. Albeit that I have moved a little closer to the plantation with my pikes than perhaps is reasonable to do so.

    And now the casualties start to cause me some pain, and perhaps I was a little ambitious to attack into the plantation, but the omens are not all bad at this stage.

    And this is when it went form bad to worse. From my right to left. I lose 2 light cavalry to light bows, and then the enemy Thracians in the plantation destroy a pike block and some lights! In the centre the pike-on-pike combat has been soundly won by Paul, and more to the point I killed my included general! Finally the observant of you will note that I am one less elephant, which was destroyed by the cavalry it hit in the rear!

    Finally, the pikes confronting the Thracians have been destroyed. In the centre I am now light another pike unit, although on the left my Cavalry have partially successful.

    Outcome

    A resounding victory to Paul in which I inflicted a solitary one cohesion point on him, to his 26 on me. This game will go down in the annals of the local ADLG community as a calamity of the first magnitude!

    Lessons Learnt

  • Pikes in rough terrain, not a good idea.
  • Once the light cavalry start to take casualties withdraw them out of range; if, of course, one has he command points to do so.
  • Army re-design called for.
  • ADLG - Game Report 104

    Low Countries (243) vs Medieval Scandinavians(251)

    The local ADLG community decided to get together for another Saturday’s gaming in mid-August. I took along a selection of armies – the first of which was my Low Countries army which fought Iain’s Scandies. In this army I forwent the Pike option instead I opted for heavy spearmen, and for the first time I was able to dismount my knights as foot knights which I placed in each command to bolster the line of battle.

    With the Scandie knights massing on the right I decided to refuse the left and advance on the right.

    With my handgunners and medium infantry fighting for the marsh I was able to effectively swing my line around and at the same time protect both flanks.

    The Scandie left has been dispersed but not yet broken, but it is allowing me to position my infantry behind the Scandie line of battle.

    The Scandie knights have not yet been brought into battle, but their infantry has been. However, my infantry has broken through on the right and are now in a position to try and inflict some casualties from the rear and flank; of course, depending on command dice and the speed of heavy infantry.

    A split result in the combat against the Scandie halberdiers. In the centre and right the Flemish came out on top, but on the left the foot knights were humbled by the Scandie halberdiers, and trampled under foot. The troops in the marsh have prevailed against the Scandies.

    The battle has become incredibly fragmented with one-on-one and two-on-one fights everywhere. However, the Scandie’s cohesion fails before the Flemish.

    Outcome

    A win for the Flemish by 10 cohesion hits to 20.

    Lessons Learnt

  • The dismounted knights as foot knights was a partial success.
  • In this type of battle the better manoeuvrability of heavy spears vs pikes was hugely beneficial.
  • ADLG - Game Report 103

    Anglo Danish(180) vs Norman(179)

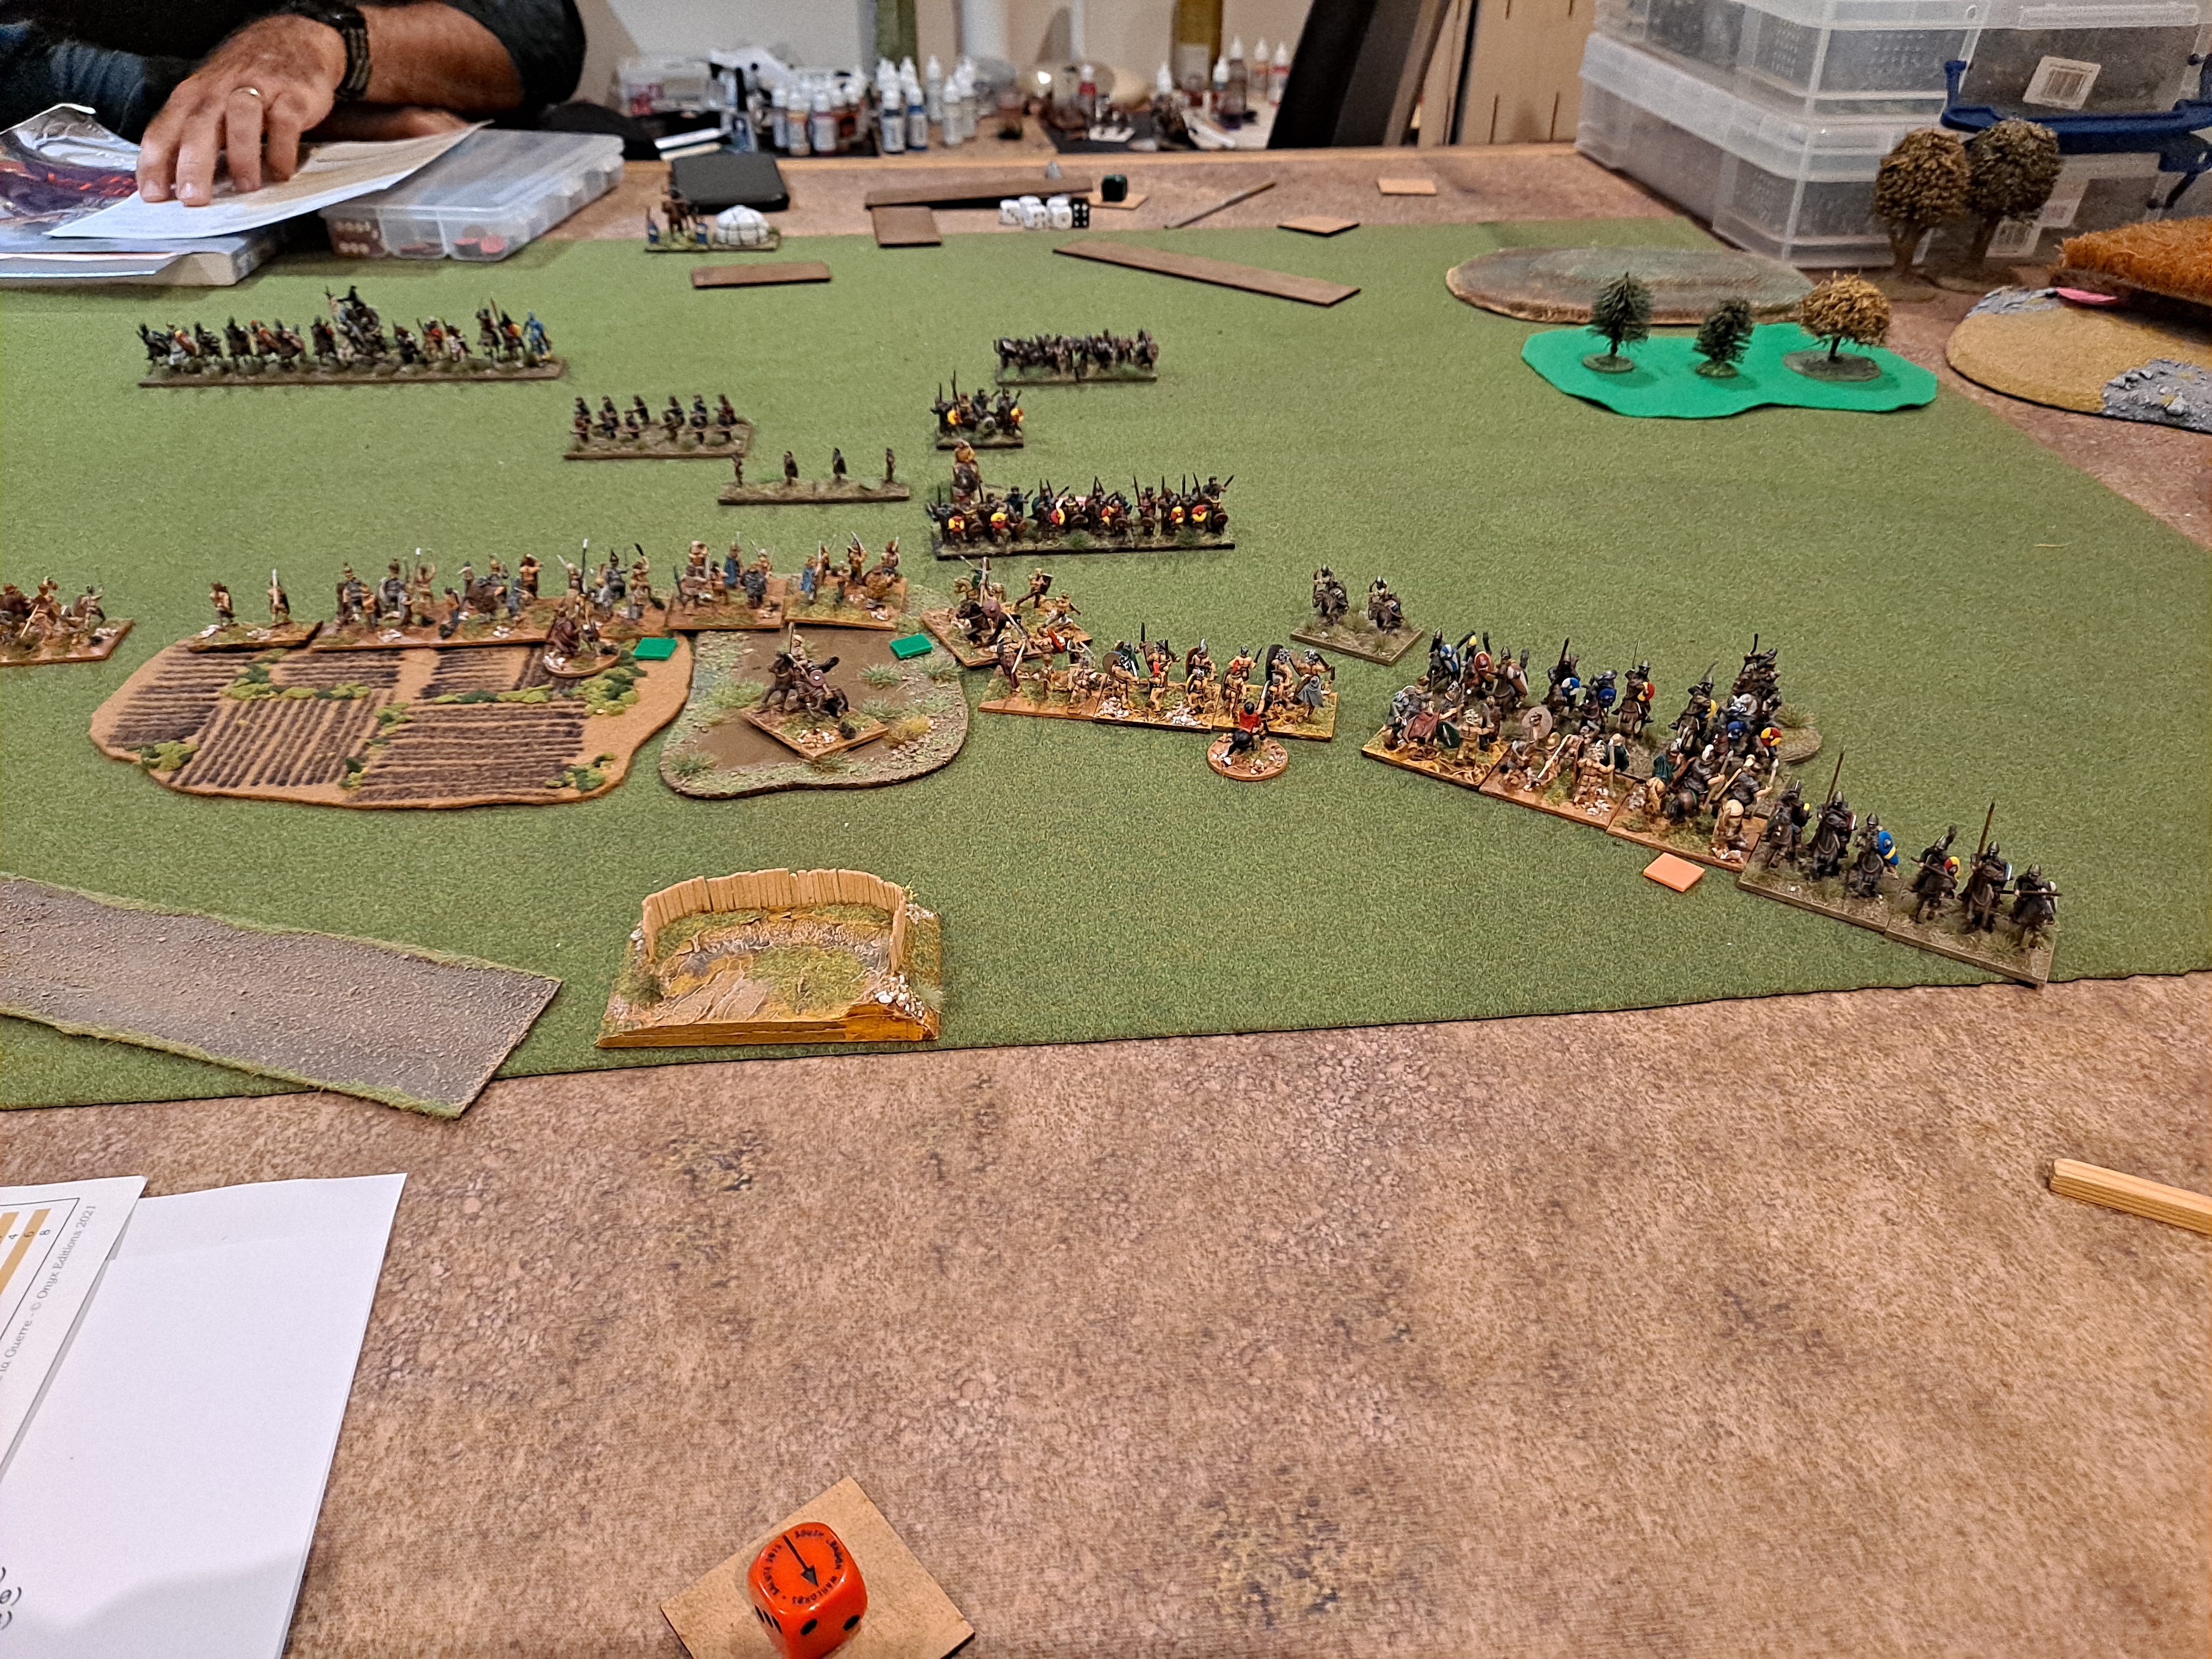
    By way of preparation for Warfare 2023 Kevin and I decided that we needed to practice with our 28mm armies for the competition. Given that neither of our armies were complete we decided to field surrogate 15mm armies to represent the armies we had chosen.

    Hence this is why my Army looks suspiciously like my German barbarians! I deployed an Allied Welsh commander with his medium troops in the centre with two commands of heavy armoured spearmen on the flanks.

    Fortunately, the Allies were reliable and committed themselves to battle. I refused and retired the right flank in response to the flanking movement from the Norman cavalry, with my cavalry valiantly providing a covering force for the manoeuvre. And I advanced on the left.

    On the left my lights defended the gully, while the heavy spearmen defended the gap in the terrain. I decided to withdraw the light cavalry as it had no place against the Normans. On the right I have reformed my refused right flank and the cavalry are now withdrawing with the Normans in pursuit. The Normans for their part are refusing their own right and loading their left flank against me.

    The Norman cavalry have destroyed my own puny cavalry, but for the moment the infantry are holding their own.

    The Norman cavalry have disengaged where they thought the fight was not in their favour, but in destroying my cavalry they are now poised to roll up my flank. Meanwhile the enemy infantry are closing up in support to the Norman cavalry.

    A series of stunning combat rolls from the Normans saw them all but destroy the Anglo-Danish right wing.

    Outcome

    A stunning win for the Normans by 28 to 9.

    Lessons Learnt

  • First and foremost, read the competition’s instructions – Anglo Danish is not a valid army choice! Back to the army selection drawing board.
  • Not for the first time I would discover that Heavy Cavalry against elite impetuous Heavy Cavalry is not a good combat outcome.
  • Sharpe Practice - Game Report 2

    A further encounter in 1809 Kevin and I decided that we needed a break from ADLG and CoC so a mutual decision to enter the world of Sharpe ...